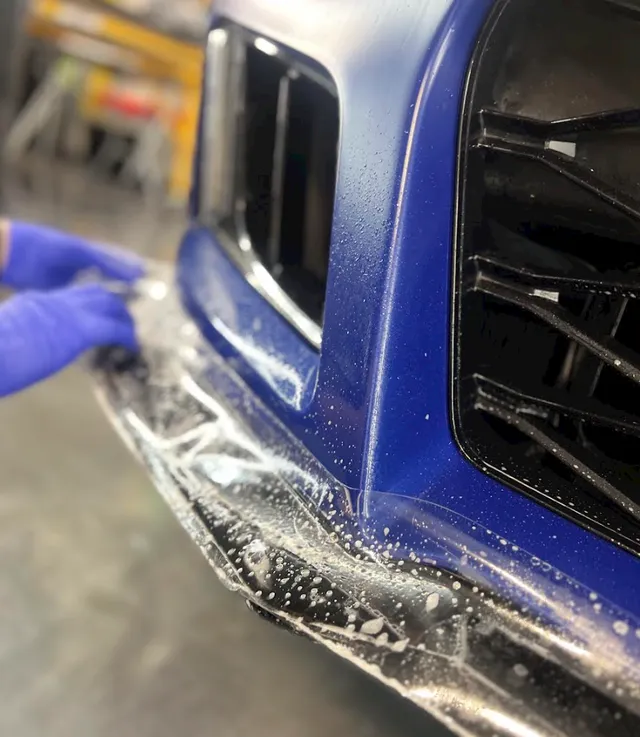
Home » Paint Protection Film Installation: Flawless PPF Application
Recent Posts
Paint Protection Film Installation: Flawless PPF Application
You just picked up your new car. The paint is flawless—deep, glossy, and absolutely perfect. Then you hit the highway. A truck kicks up a pebble. And just like that, you’ve got your first rock chip.
It happens to almost everyone. But it doesn’t have to.
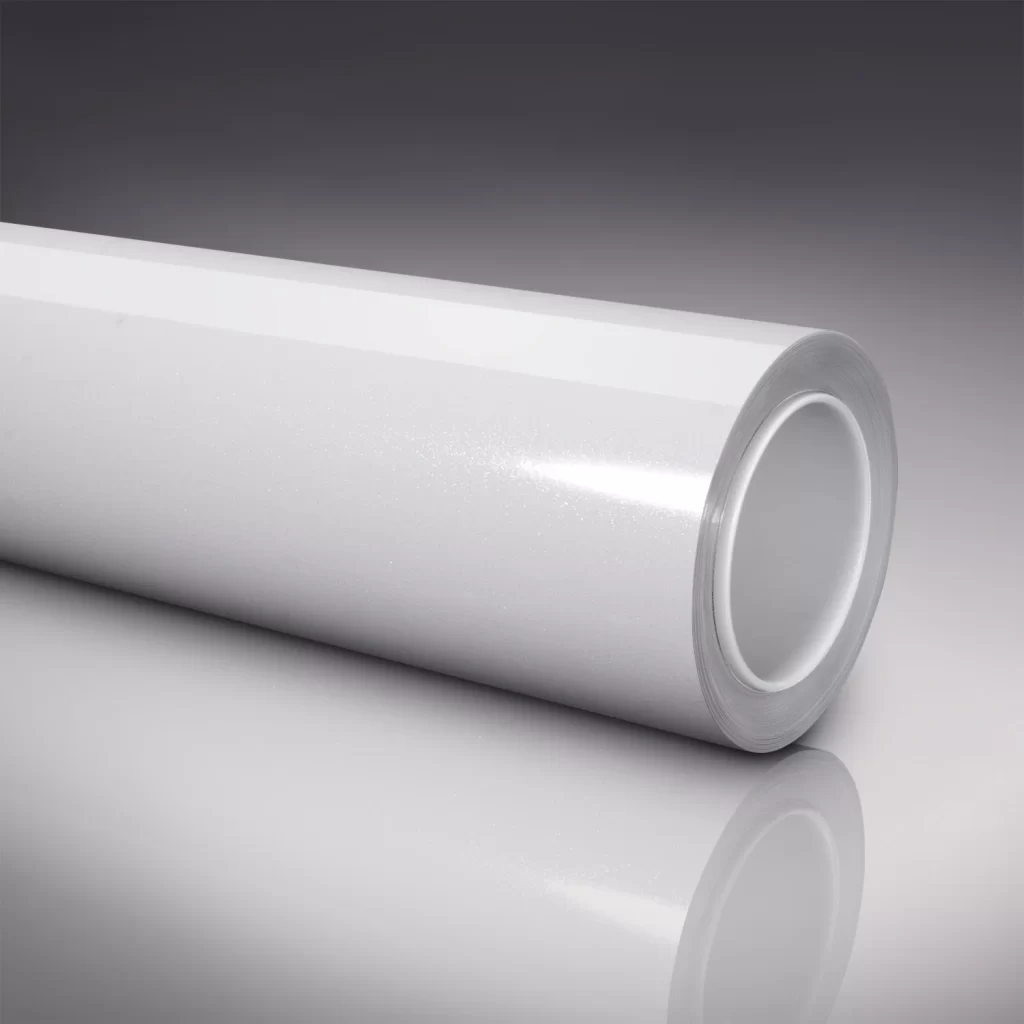
Paint protection film—what most people just call PPF—is that invisible shield you’ve probably heard about. It’s a clear thermoplastic polyurethane layer that sits on top of your factory paint and takes all the abuse instead. Stone chips, bug splatter, road grime, even those light swirls from careless washing—the film absorbs it all.
Here’s the thing though: the film is only as good as its installation.
A badly installed PPF is worse than no PPF at all. Trapped dust, visible edges, bubbles that never disappear, film that starts peeling at the corners—these are all signs of an installation that wasn’t done right. And once that film is down, fixing those issues means starting over.
So whether you’re thinking about hiring a professional or you’re brave enough to try a DIY paint protection film installation yourself, this guide will walk you through everything you need to know.
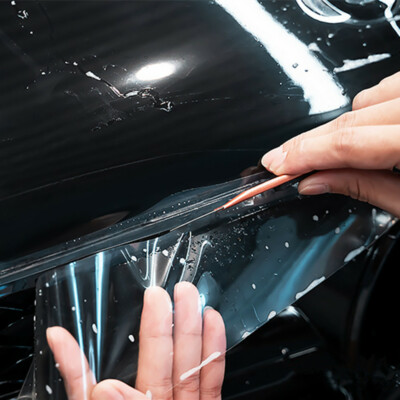
Table of Contents
What Is Paint Protection Film, Really?
Let’s get this straight from the start. Paint protection film—also called clear bra or simply PPF—isn’t just fancy plastic wrap. It’s a layered engineering product designed to do one thing well: protect your paint.
A typical PPF consists of several layers:
An adhesive layer that bonds to your paint while allowing some repositioning during installation
A polyurethane core that absorbs impacts and provides the actual protection
A top coat that resists staining, adds slickness, and—in modern films—self-heals minor scratches
Total thickness usually runs about 8 to 10 mils, adhesive included. That’s thin enough to be nearly invisible but thick enough to stop a lot of what the road throws at it.
The Self-Healing Thing—Does It Actually Work?
Yes. And it’s not magic—it’s chemistry.
The top coat of quality PPF is engineered to “remember” its original shape. When you get light swirl marks or fine scratches, applying heat—whether from a heat gun, warm water, or just direct sunlight—causes the polymer chains to relax and flow back into place. The scratches literally disappear.
It’s not armor against a key or a serious impact. But for the everyday wear and tear that slowly dulls a car’s finish? It’s remarkably effective.
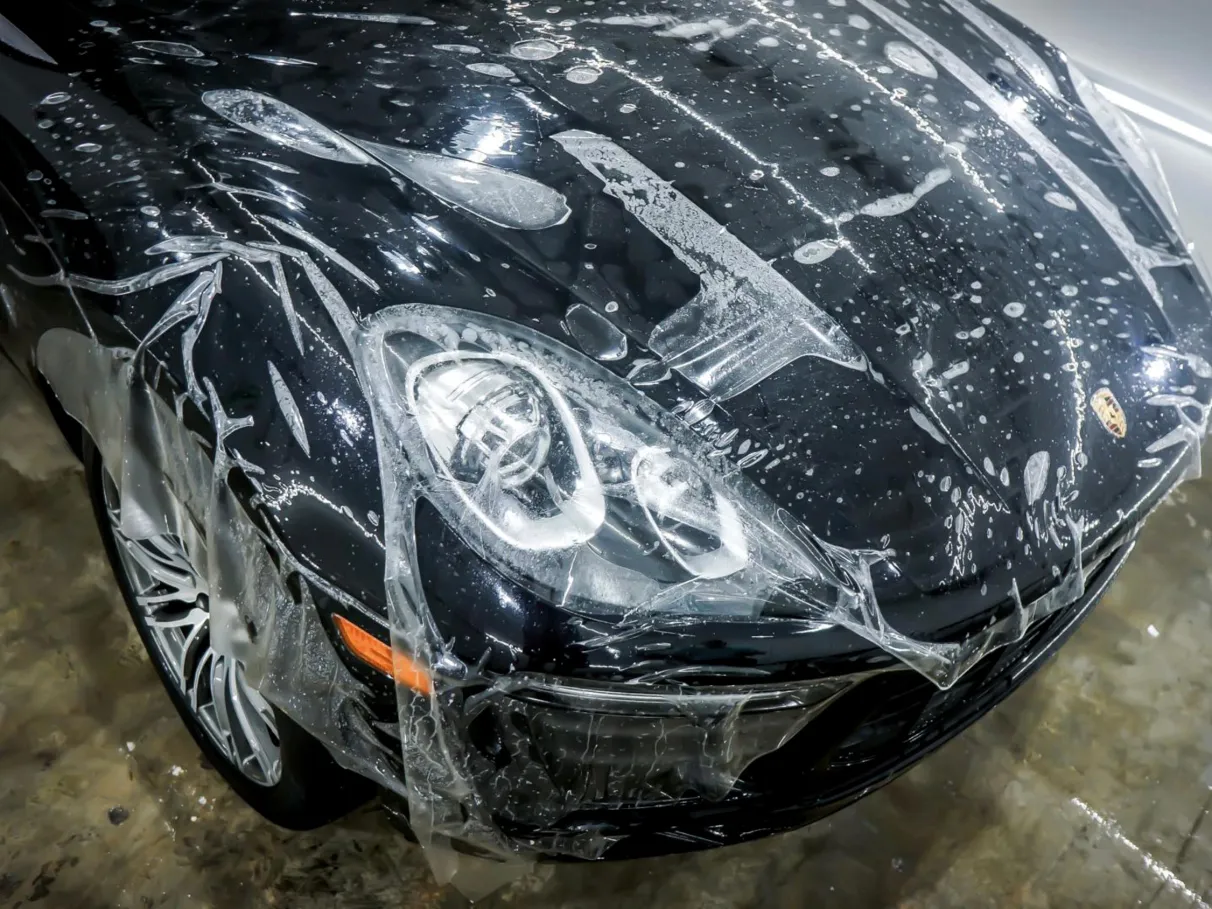
Gloss, Matte, or Something Else?
Modern PPF comes in different finishes:
Gloss PPF is the most common. It looks like clear coat, maybe even a little deeper and richer. You barely notice it’s there.
Matte or satin PPF gives your car that stealth, non-reflective look. It can transform a glossy paint job into something completely different—and it’s great at hiding minor imperfections.
Colored PPF is also available, but that’s a whole different conversation. For most people, clear gloss or matte is where it’s at.
Why Bother with PPF Installation in the First Place?
Good question. Here’s the short answer: because paint correction is expensive, and repainting is even more expensive.
A proper paint protection film installation does several things for you:
It stops rock chips before they happen. That front bumper and hood take a beating. PPF absorbs those impacts so your paint doesn’t have to.
It blocks UV damage. The sun fades paint over time. PPF with UV inhibitors slows that down significantly.
It resists chemicals. Bird droppings, tree sap, bug splatter—all those things that etch into clear coat if you leave them too long? PPF gives you a buffer.
It preserves resale value. A car with factory-fresh paint underneath PPF is worth more than one with a hundred touch-up dots.
It makes washing easier. The hydrophobic top coat on quality films repels water and dirt, so your car stays cleaner longer.
And here’s something a lot of people don’t realize: PPF isn’t just for exotics and weekend toys anymore. The global paint protection film market was valued at over $630 million in 2025 and is projected to keep growing. Daily drivers, family SUVs, work trucks—more and more owners are realizing the value.
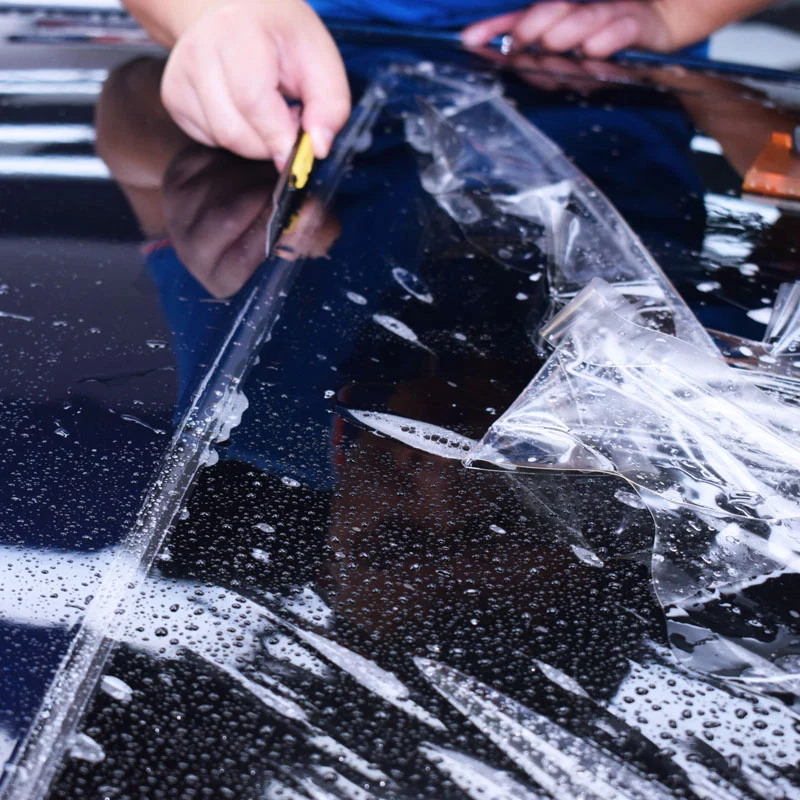
The Complete Paint Protection Film Installation Process
Whether you’re hiring a pro or doing it yourself, understanding what actually happens during a PPF installation will help you get better results.
Step 1: Surface Preparation—This Is Where It All Begins
You cannot skip this. You cannot rush this. You cannot half-ass this.
Wash the vehicle thoroughly. Not a quick rinse at the gas station. A proper hand wash with pH-neutral shampoo. Every panel that’s getting film needs attention—including panel gaps, edges, and those recessed areas where dirt loves to hide.
Chemical decontamination. After washing, the paint gets treated with an iron remover. This dissolves embedded iron particles—brake dust, rail dust, industrial fallout—that regular washing can’t touch.
Clay bar treatment. A clay bar or clay mitt is rubbed across every panel with a lubricant. This pulls out any remaining bonded contaminants. After claying, the surface should feel glass-smooth.
Paint correction (if needed). Here’s a hard truth: PPF is transparent. It doesn’t hide swirls, scratches, or oxidation—it preserves them. If your paint has defects, they’ll be visible under the film. A light polish or full paint correction before installation is often recommended.
Final wipe. The last step before film application is wiping every panel with isopropyl alcohol or a dedicated panel wipe. This removes any remaining oils, waxes, or silicones that could interfere with adhesion.
Why does all this matter? Because any contamination left on the surface gets trapped under the film permanently. A speck of dust becomes a visible bump. A piece of iron fallout becomes a rust spot under the film. There’s no fixing it after the film is down.
Step 2: Create the Right Environment
PPF installation isn’t a driveway project. You need:
An enclosed, dust-controlled space. Wind carries dirt. Dirt gets trapped under film. Keep doors closed, minimize foot traffic, and consider wearing non-shedding clothing.
Good lighting. You need to see what you’re doing—bubbles, dust specs, alignment issues. Bright, even lighting from multiple angles is ideal.
Stable temperature. Most films install best between 15-24°C (65-75°F). Too cold and the film won’t stretch. Too hot and it gets too soft and hard to handle.
Step 3: Prepare Your Solutions
PPF is installed wet—meaning you use a liquid solution to let the film slide into position before it bonds permanently.
You’ll need two solutions:
Slip solution helps the film float on the surface. This gives you time to position it perfectly before committing. A typical slip solution is distilled water with a few drops of baby shampoo or a dedicated installation gel.
Tack solution helps edges lock down when you’re ready. This is usually water with a small amount of isopropyl alcohol—capped at about 17% alcohol by volume to avoid damaging the film.
Label your spray bottles clearly. Mixing them up during installation is a recipe for frustration.
Step 4: Cutting the Film
There are two approaches here.
Plotter-cut (pre-cut) patterns. Most professional shops use a computer-controlled plotter that cuts film to match your car’s exact panel dimensions. This is efficient, consistent, and eliminates the risk of cutting into your paint with a blade.
Hand-cut (bulk film). Some installers prefer to cut film directly on the car. This allows for maximum edge wrapping but requires considerable skill. If you’re hand-cutting, use a fresh, sharp blade and cut on the film, not the paint.
Step 5: Wet Application and Positioning
Here’s where the actual paint protection film installation begins.
Spray slip solution generously on both the panel and the adhesive side of the film. The film should be floating—you should be able to slide it around easily.
Carefully place the film on the panel. Align it with panel edges, body lines, and contours. This is your only chance to get positioning right, so take your time.
Once positioned correctly, you can start locking things down.
Step 6: Squeegee Work
This is the most physically demanding part of the installation.
Using a squeegee—usually a firm rubber or felt-lined squeegee designed specifically for PPF—you push the slip solution out from under the film.
Key techniques:
Work from the center of the panel outward toward the edges
Use overlapping strokes to avoid leaving pockets
Apply consistent, even pressure—too much pressure stretches the film, too little leaves bubbles behind
Push solution toward panel edges where it can escape
For tight areas where a squeegee won’t reach, use your fingers or thumbs
Any water or air left under the film will show up as a bubble or cloudy spot. Small amounts of moisture will evaporate during curing, but large air pockets need to be addressed during installation.
Step 7: Stretching and Conforming
PPF needs to stretch to fit curves and complex shapes. But there’s a fine line between stretching and overstretching.
Use gentle heat from a heat gun to warm the film, making it more pliable. Heat allows the film to:
Stretch and conform to curves without wrinkling
Relax tension in areas where it’s been pulled
Activate the adhesive more fully
Be careful with heat. Too little and the film won’t conform. Too much and you can distort the film or damage the self-healing top coat.
Step 8: Edge Wrapping and Tucking
This is what separates a professional install from an amateur one.
On a basic install, the film stops at the visible edge of the panel. On a quality install, the film is wrapped around the panel edge and tucked into the gap between panels.
Why does this matter?
You can’t see the film’s edge when looking at the car normally
The edge is protected from lifting due to pressure washers or car washes
It just looks cleaner and more professional
Edge wrapping requires extra film material and significantly more time. The installer has to carefully fold the film around curves and body lines without creating wrinkles.
Step 9: Final Inspection
After all panels are covered, the installer does a complete inspection under bright lighting.
They’re looking for:
Trapped debris under the film
Air bubbles that weren’t fully squeegeed out
Lifting edges that didn’t adhere properly
Uneven tuck lines or exposed edges
Stretch marks or distortion
Any issues get addressed immediately. A small trapped particle might require lifting the film, cleaning, and re-laying. A lifting edge gets re-heated and pressed down.
Step 10: Cure Time
The adhesive on PPF needs time to fully bond to the paint.
Most films require 24-48 hours of cure time before the car should be driven. The adhesive continues to strengthen over the next 2-4 weeks.
During the cure period:
Don’t wash the car (usually 3-7 days, depending on the film)
Don’t touch or press on the film edges
Avoid driving in heavy rain for the first 24 hours
Keep the car in a climate-controlled environment if possible
Don’t panic about slight haziness under the film—this is moisture evaporating and is completely normal
Common PPF Installation Mistakes (and How to Avoid Them)
Even experienced installers make mistakes. Here are the most common ones and how to steer clear.
Mistake 1: Skipping Surface Preparation
This is the number one cause of failed installations. Dirt, dust, or oils on the surface prevent the film from adhering properly. The result? Visible bumps, bubbles, and edges that lift prematurely.
Solution: Clean thoroughly. Decontaminate. Clay bar. Final wipe with alcohol or panel wipe. Don’t skip any step.
Mistake 2: Using the Wrong Solution Mix
Too much soap in the slip solution and the film never grabs. Too little and it grabs before you can position it.
Solution: Start with the manufacturer’s recommended ratio and adjust based on temperature and humidity. Warmer environments may need slightly more soap; cooler conditions may need less.
Mistake 3: Overstretching the Film
PPF can only stretch so far. Push it too much and you get thin spots, distortion, or edges that want to spring back and lift.
Solution: Stretch only as needed. Use heat to help the film conform rather than relying on brute force. If a panel is particularly complex, consider using multiple pieces with well-hidden seams.
Mistake 4: Rushing the Installation
Rushing leads to misalignment, trapped bubbles, stretch marks, and all sorts of problems that are much harder to fix than they are to prevent.
Solution: Break the installation into manageable sections. Take breaks. Stay focused. A careful approach always beats a fast one.
Mistake 5: Ignoring Edge Sealing
Edges are the most vulnerable part of any PPF installation. If they’re not properly sealed, they’ll lift—and once dirt gets under a lifted edge, it’s game over.
Solution: Use tack solution on edges. Apply heat to activate the adhesive. Make sure edges are clean and dry before final setting. And after installation, remind the owner not to use pressure washers directly on edges.
Mistake 6: Installing in the Wrong Temperature
Cold film doesn’t stretch. Hot film gets too soft and hard to handle. Both lead to installation problems.
Solution: Check the film’s recommended installation temperature range. Most are happy between 15-24°C. If your workspace isn’t climate-controlled, wait for better conditions.
Aftercare and Maintenance
Once your paint protection film installation is complete, proper maintenance keeps it looking great for years.
The First Few Days
Don’t wash the car for at least 48-72 hours (some films recommend up to 7 days)
Don’t touch or press on the film while it’s curing
Keep the car indoors if possible
Don’t panic about small bubbles—they’ll usually disappear as moisture evaporates
Long-Term Care
Hand wash only with pH-neutral car shampoo and a soft microfiber mitt
Avoid automated car washes—the brushes can damage edges and the high-pressure spray can lift film
Use the two-bucket method—one for soapy water, one for rinsing your mitt. This prevents dirt from being rubbed back into the film
Remove bug splatter, bird droppings, and tree sap promptly—these can stain if left too long
Avoid solvent-based cleaners—they can damage the film’s top coat
Don’t use wax or sealant on PPF unless the product is specifically labeled as PPF-safe
What About Ceramic Coating on PPF?
Some owners apply a ceramic coating designed specifically for PPF. This adds extra slickness and makes the film even easier to clean. If you go this route, make sure the coating is compatible with polyurethane films.
PPF vs. Vinyl Wrap: Know the Difference
This comes up a lot. People confuse paint protection film with vinyl wrap. They’re completely different products.
PPF is thick, durable, and designed to absorb impacts. It’s protection first. It’s transparent (or available in matte), and it self-heals.
Vinyl wrap is thinner and mainly cosmetic. It changes color. It protects against light scuffs but won’t stop a rock chip the way PPF will.
If your goal is protection, you want PPF. If your goal is a color change, you want vinyl. Some owners do both—vinyl wrap for the color, then PPF on top of high-impact areas.
Should You DIY or Hire a Pro?
This is the million-dollar question.
When DIY Makes Sense
You’re working on small, simple areas—interior touch points, door sills, mirror caps
You have a clean, dust-controlled workspace
You’re patient and detail-oriented
You’re okay with a learning curve and possibly re-doing a panel or two
You have pre-cut kits that reduce the risk of cutting into paint
When to Hire a Professional
You’re doing a full front end, full body, or anything with complex bumpers
You want perfect edge wrapping with no visible seams
Your car has complex curves or hard-to-reach areas
You don’t have a dust-free, climate-controlled space
You value your time and sanity
Here’s the reality: a professional paint protection film installation takes 8-12 hours for a full front end. A first-time DIY might take multiple weekends. And even then, the results won’t be the same.
A single particle of dust trapped under gloss film on a hood? You’ll see it every time you look at the car. A professional installer has the experience, tools, and environment to minimize those risks.
Frequently Asked Questions (FAQ)
Q1: How long does a paint protection film installation take?
A full front-end PPF installation typically takes 8-12 hours of focused work. A full body installation can take 3-5 days, depending on the vehicle’s complexity and the installer’s process.
Q2: Can I wash my car immediately after PPF installation?
No. Most films require at least 48-72 hours of cure time before washing. Some recommend waiting up to 7 days. Always follow the specific film manufacturer’s guidelines.
Q3: Will PPF change the color of my car?
Gloss PPF is virtually invisible and shouldn’t change your car’s color. It might even make the paint look deeper and more saturated. Matte PPF will transform a glossy finish into a non-reflective look, which is a deliberate aesthetic choice.
Q4: How do I remove bubbles from PPF?
Small moisture bubbles often disappear within 7-14 days as the film cures. For persistent bubbles, a fine needle can be used to puncture the bubble at an angle, then smooth the area with a squeegee. If you’re not comfortable doing this yourself, contact your installer.
Q5: Can PPF be removed without damaging the paint?
Yes. PPF can be safely removed from factory paint. Warm the panel, peel at a shallow angle, and work slowly. If adhesive remains, use a film-safe adhesive remover. Repainted panels are higher risk—the bond under the paint needs to be strong.
Q6: What’s the difference between gloss and matte PPF?
Gloss PPF looks like clear coat—shiny, reflective, and nearly invisible. Matte PPF gives a flat, non-reflective finish that transforms the look of your car. Both offer the same protection; the difference is purely aesthetic.
Q7: Is PPF worth it for a daily driver?
Absolutely. Daily drivers take the most abuse—highway miles, parking lots, road salt, bug splatter. PPF protects against all of that. Many owners who start with a front-end package end up adding more coverage later.
Q8: What tools do I need for PPF installation?
Essential tools include: spray bottles (labeled for slip and tack solutions), squeegees (various stiffness), a heat gun, microfiber towels, a precision blade, and isopropyl alcohol for surface prep. A dust-free, well-lit workspace is equally important.
Q9: How do I prevent PPF edges from lifting?
Proper edge preparation is key. Clean edges thoroughly. Use tack solution on edges. Apply heat to activate the adhesive. And after installation, avoid high-pressure washing directly on edges. Edge lifting is preventable with the right technique.
Q10: Can I install PPF myself?
Yes, but start small. Interior touch points, door sills, and simple flat panels are good beginner projects. Leave complex bumpers and full front ends to professionals. Even with pre-cut kits, there’s a learning curve.
Final Thoughts
Paint protection film installation is part science, part art. Done right, it’s nearly invisible and incredibly effective. Done wrong, it’s a constant reminder of what could have been.
The key is understanding the process, respecting the prep work, and either investing in a professional or being honest with yourself about your DIY skills. There’s no shame in hiring someone who does this every day. There’s also no shame in learning the craft yourself—just start with small projects and work your way up.
Whether you’re protecting a weekend toy, a family SUV, or a daily driver, the right PPF installation keeps your paint looking newer for longer. And isn’t that what we all want?
Ready to protect your vehicle with a professional-grade paint protection film installation? Get in touch with Decowell Film today to discuss your vehicle, your coverage needs, and your finish preference. Our team is here to help you make the right choice for your car—because your paint deserves the best protection possible.