Home » Headlight Tint Film Application: The Step-by-Step Guide for a Flawless Finish
Recent Posts
Headlight Tint Film Application: The Step-by-Step Guide for a Flawless Finish
You have probably seen it driving around—that sleek, smoked headlight look that ties the whole front end of a car together. It is one of those modifications that looks deceptively simple. Then you try it yourself, and suddenly you are staring at a headlight covered in wrinkles, air bubbles, and peeling edges, wondering where it all went wrong.
Here is the thing: headlight tint film application is not complicated, but it is unforgiving. Skip a step, rush the preparation, or choose the wrong method, and your results will show it. Get it right, though, and you will have a professional-looking finish that protects your headlights and transforms your vehicle’s appearance.
This guide walks you through everything you need to know—from choosing the right film to mastering the installation technique—so you can avoid the common pitfalls and get it right the first time.
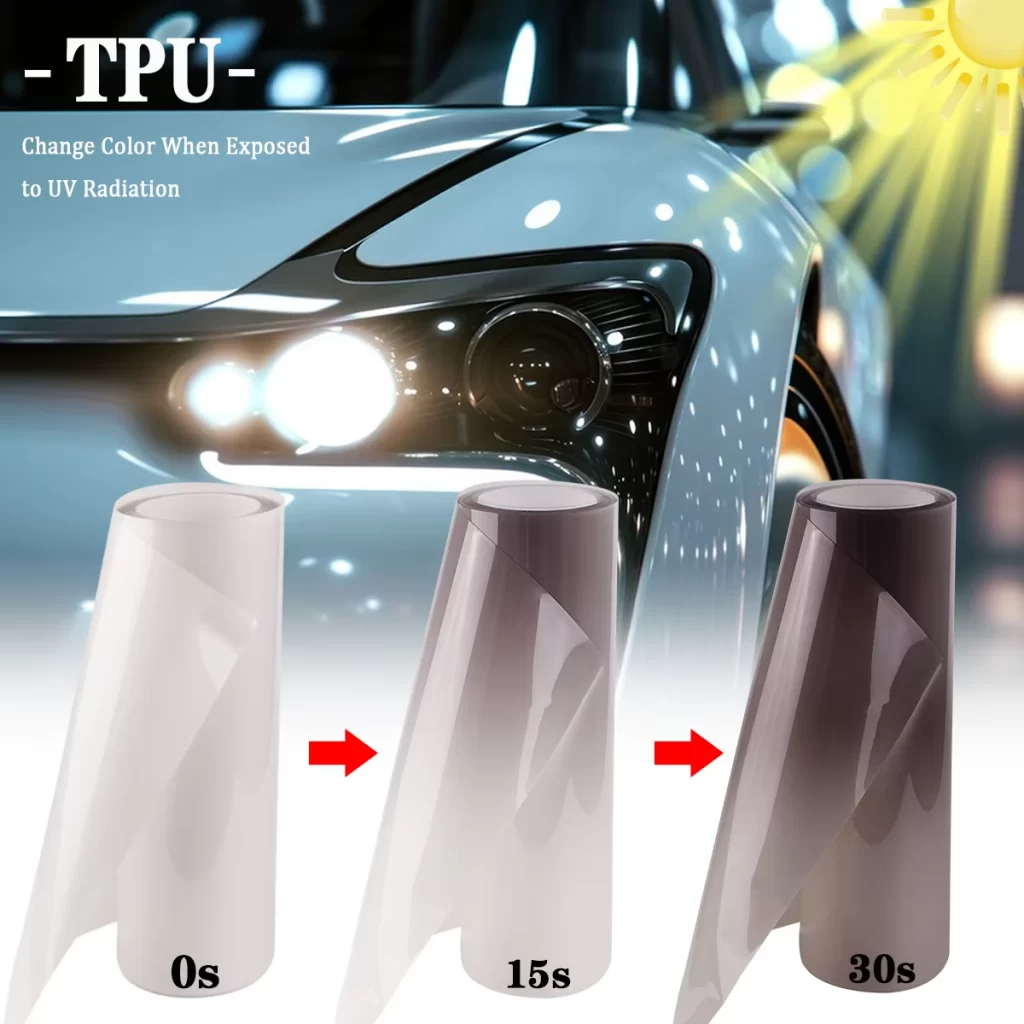
Table of Contents
What Is Headlight Tint Film and Why Should You Consider It?
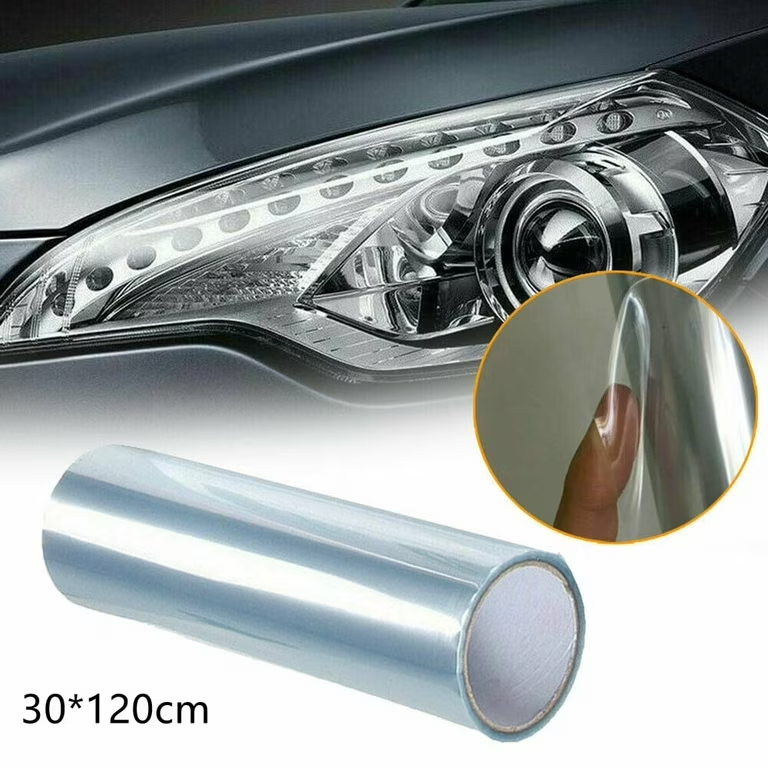
Headlight tint film is a thin, adhesive-backed layer that applies directly over your vehicle’s headlight lenses. It serves two purposes. First, it changes the appearance of your headlights, giving them a smoked, shaded, or colored look that enhances your vehicle’s style. Second, it protects the underlying lenses from UV damage, minor scratches, road debris, and the yellowing that happens over time from sun exposure.
Modern headlight lenses are made of polycarbonate plastic. They are tough, but they are not invincible. Over years of exposure to sunlight, UV rays break down the protective coating on the lens surface, leading to oxidation, clouding, and that dull, hazy look that makes your car look older than it actually is. A quality headlight tint film acts as a sacrificial barrier—it takes the abuse so your lenses do not.
Beyond protection, headlight tint film is one of the most affordable ways to customize your vehicle’s appearance. Whether you want a subtle smoke effect, a bold dark black finish, or even a colored tint, the right film can completely change the character of your car’s front end.
Choosing the Right Film: TPU vs. Vinyl
Not all headlight tint films are created equal. The material you choose directly affects how easy the installation will be and how long the results will last.
Standard vinyl is the more traditional option. It is cost-effective and widely available. However, standard vinyl is stiffer and more prone to lifting at the edges, especially on headlights with complex curves. It can crack or crease when stretched around tight corners, and it does not handle impact as well as other materials.
TPU (thermoplastic polyurethane) is the premium choice. TPU film stretches to follow compound curves without creasing, making it far more forgiving during installation. It is impact-absorbent, meaning it buffers small pebbles and road debris rather than cracking or tearing on contact. Many TPU films also feature self-healing properties—light scratches disappear when exposed to heat. TPU maintains its elasticity longer than vinyl, allowing it to expand and contract with temperature fluctuations instead of cracking under stress.
For most DIY installers, especially those working with modern vehicles that have curved headlight housings, TPU is the smarter choice. It is more forgiving, more durable, and delivers a cleaner finish.
Dry Application vs. Wet Application: Which Method Should You Use?
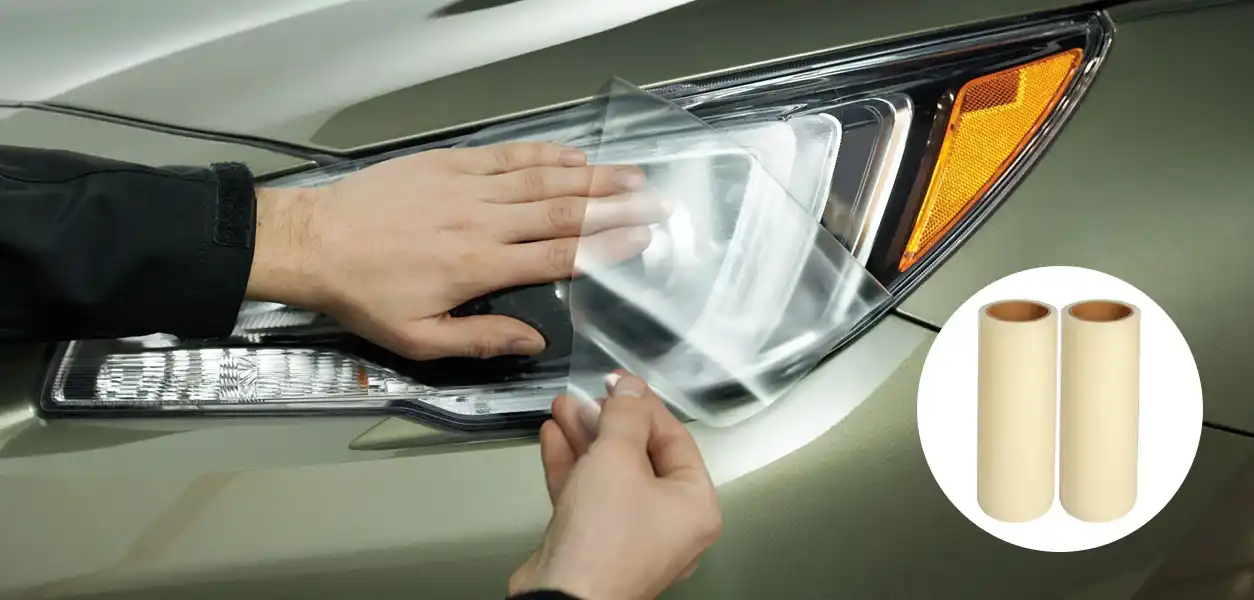
There are two primary ways to install headlight tint film: the dry method and the wet (soapy water) method. Each has its pros and cons, and understanding the difference is critical to your success.
The Dry Method
In a dry application, you clean the headlight, remove the film’s backing, and apply it directly to the dry surface. You then use a squeegee or plastic card to push out air bubbles, apply heat to soften the film, and trim the excess.
The dry method is faster—there is no drying time, so the film adheres immediately. However, it is less forgiving. Once the film touches the surface, it is difficult to reposition. Air bubbles and wrinkles are more likely to occur, and removing them requires significant skill. The dry method is generally better suited for experienced installers or for simpler, flatter headlight shapes.
The Wet (Soapy Water) Method
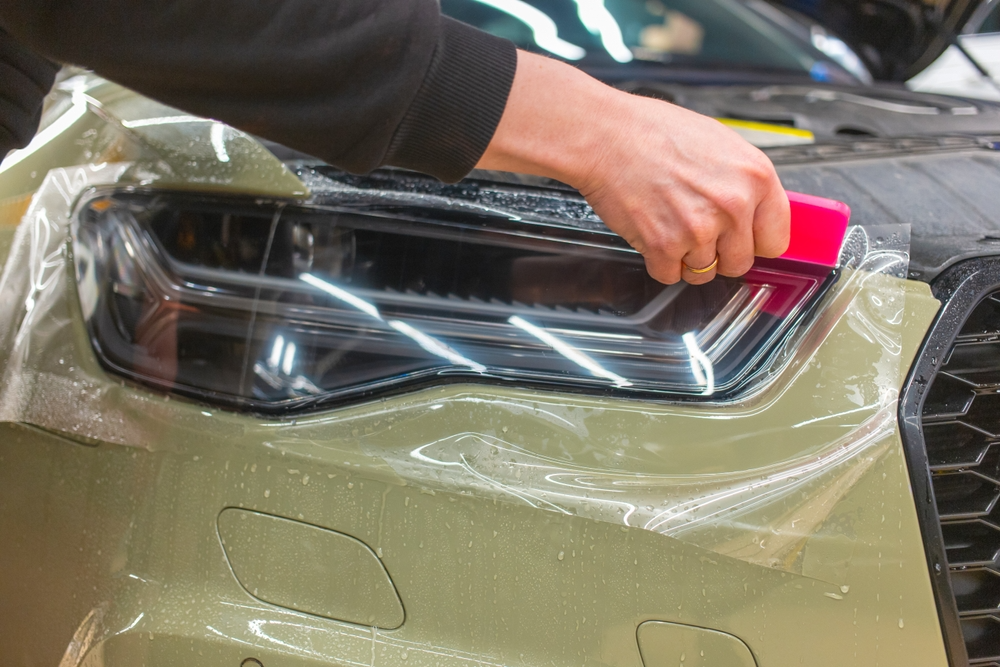
The wet method involves spraying both the headlight surface and the adhesive side of the film with a slip solution—typically water mixed with a few drops of mild soap. This lubricant allows you to slide and reposition the film freely before it sets. Once the film is perfectly aligned, you use a squeegee to push out the slip solution and trapped air, working from the center outward. Heat is then applied to conform the film to curves, and excess material is trimmed.
The wet method takes longer because the film needs time to dry and cure fully—often 24 to 48 hours. However, it is far more forgiving. You can reposition the film multiple times without damaging it. Air bubbles and wrinkles are significantly easier to avoid because the slip solution prevents the adhesive from grabbing too soon. For beginners and for headlights with complex curves, the wet method is almost always the better choice.
Which One Should You Choose?
If you are a beginner or working with curved headlights, go with the wet method. The extra time it takes is well worth the reduced frustration and better results. If you are an experienced installer working with a simple, flat headlight shape, the dry method may save you time. For most people, however, the wet method is the safer, more reliable option.
Tools and Materials You Will Need
Before you start, gather everything you will need. Having the right tools on hand makes the process smoother and reduces the chances of mistakes.
Headlight tint film – Choose a high-quality film, preferably TPU, designed specifically for automotive headlights.
Heat gun or hair dryer – Essential for softening the film and conforming it to curves.
Squeegee or felt-edge applicator – Used to push out slip solution and air bubbles without scratching the film.
Spray bottle with slip solution – A mixture of water and a few drops of mild dish soap or baby shampoo.
Microfiber towels – For cleaning and drying the headlight surface.
Isopropyl alcohol – For degreasing the headlight lens before application.
Sharp utility knife or precision blade – For trimming excess film.
Measuring tape – To measure the headlight and cut the film to size.
Masking tape – Optional, but useful for marking alignment or holding the film in place during positioning.
Step-by-Step Guide to Applying Headlight Tint Film (Wet Method)
Step 1: Prepare the Headlight Surface
This is the most important step. Any dirt, grease, wax, or residue left on the headlight will interfere with the film’s adhesion and create visible imperfections.
Start by washing the headlight with soap and water to remove major dirt and grime. Dry it thoroughly with a clean microfiber towel. Then, wipe the lens with isopropyl alcohol to remove oils, waxes, and any remaining contaminants. The surface should feel completely clean—not slick or greasy.
A simple test: apply a small piece of masking tape to the headlight. If it sticks firmly and stays in place, the surface is ready. If it curls or falls off, there are still contaminants present.
Work in a clean, shaded area or indoors. Dust, wind, and direct sunlight can all cause problems during installation. The ideal temperature is between 70°F and 80°F (21°C to 27°C).
Step 2: Measure and Cut the Film
Measure your headlight lens carefully. Cut a piece of tint film that is significantly larger than the lens—leave at least two to three inches of excess material around all edges. This excess gives you material to work with when stretching the film over curves and provides a handle for positioning.
If you are using a pre-cut kit, skip this step and proceed to positioning.
Step 3: Apply the Slip Solution
Generously spray the clean headlight lens with your slip solution. The surface should be thoroughly wet. Then, peel the protective liner from the adhesive side of the film. Immediately spray the adhesive side with the slip solution as well. Keeping both surfaces wet prevents the film from sticking prematurely and allows you to slide it into position.
Step 4: Position the Film
Carefully place the wet, adhesive side of the film onto the wet headlight lens. Because both surfaces are lubricated, the film should float and slide easily. Use your fingers to adjust it until it is centered and evenly positioned over the entire lens.
Take your time with this step. The slip solution gives you a window of opportunity to get the alignment perfect before the adhesive begins to set.
Step 5: Squeegee Out the Slip Solution and Air
Once the film is positioned correctly, start securing it. Spray the outer surface of the film with more slip solution to lubricate the squeegee and prevent scratching.
Using your squeegee, start at the center of the lens and push outward toward the edges in smooth, overlapping strokes. You will see the slip solution being pushed out from under the film—this is exactly what you want. Work methodically, applying firm but gentle pressure. If large bubbles appear, simply lift the film back to that area, apply more solution, and re-smooth it.
Step 6: Apply Heat to Conform the Film
Modern headlights have complex curves. The film will not lay flat on its own—it needs heat to become pliable and stretch into shape.
Using a heat gun or hair dryer on a low setting, gently warm a small section of the film. Focus on areas where the film begins to lift or bunch up. As the film warms, use the squeegee to push it into recesses and around curves. Move the heat source in a steady, sweeping motion—never hold it too close or leave it in one spot too long, as excessive heat can warp or bubble the film.
Work section by section, gradually conforming the entire film to the headlight’s shape.
Step 7: Trim the Excess
Once the film is fully smoothed and conformed, it is time to trim away the excess material that extends beyond the edges of the headlight.
Using a sharp utility knife or precision blade, carefully run the blade along the edge of the headlight housing, following its natural contour. Take your time. Steady, even pressure produces clean cuts. Rushing this step can result in jagged edges or accidental cuts into the housing.
After trimming, use your squeegee or fingers to press down the edges and ensure a tight seal.
Step 8: Let the Film Cure
The film is now applied, but the job is not finished. The film needs time to dry and cure fully.
Allow the film to dry for at least 30 minutes, then gently wipe away any remaining slip solution with a clean microfiber towel. Over the next 24 to 48 hours, the film will continue to bond and any residual moisture trapped beneath the surface will evaporate. Depending on the film’s thickness, weather conditions, and sun exposure, the film may appear slightly cloudy during this period—this is normal and will clear as it cures.
Avoid exposing the film to water, heavy washing, or extreme weather during the curing period.
Step 9: Final Inspection and Bubble Removal
After the film has cured for at least 24 hours, inspect your work closely. If you see any small air bubbles remaining, they can be removed. Use a fine needle or pin to gently pop the bubble, then press out the trapped air with your squeegee.
Common Mistakes to Avoid
Even with careful preparation, there are a few mistakes that can ruin an otherwise good installation.
Rushing the preparation. A dirty or greasy headlight surface is the number one cause of adhesion failure. Take the time to clean thoroughly with isopropyl alcohol.
Stretching the film too aggressively. It is tempting to pull the film tight to make it conform. But over-stretching distorts the material, weakens the adhesive, and creates thin spots that are prone to lifting. Let the heat do the work—gentle stretching is all you need.
Overheating the film. Concentrated heat in one spot can warp, distort, or even melt the film. Keep the heat source moving and use a low setting.
Trimming before the film settles. Cutting the excess too early can leave you with material that is too short to stretch over curves. Wait until the film is fully smoothed and conformed before trimming.
Skipping the curing period. Applying water or pressure washing too soon can lift the edges or trap moisture. Be patient—give the film the time it needs to cure.
How to Care for Your Headlight Tint Film
Once your headlight tint film is properly installed, a little maintenance goes a long way.
Wash your tinted headlights regularly—at least once every two weeks—using a gentle, pH-neutral soap and a soft microfiber cloth. Avoid abrasive cleaning agents, ammonia-based cleaners, or harsh chemicals that can damage the film. Do not use high-pressure washers closer than one meter from the surface, as the force can peel the film at the edges. Hand-washing is always the safer option.
Avoid washing the tinted surface for at least 7 to 10 days after installation to give the adhesive time to fully bond.
Frequently Asked Questions
Q: What is the best headlight tint film to use?
A: For most vehicles, TPU (thermoplastic polyurethane) film is the best choice. It stretches to fit curved headlights without creasing, absorbs impacts from road debris, and often features self-healing properties that repair minor scratches with heat. TPU is more durable and forgiving than standard vinyl, especially for DIY installations.
Q: Should I apply headlight tint film dry or wet?
A: For beginners and for headlights with complex curves, the wet (soapy water) method is strongly recommended. It allows you to reposition the film during installation and significantly reduces the risk of bubbles and wrinkles. The dry method is faster but requires more skill and is less forgiving.
Q: How long does headlight tint film take to dry?
A: After installation, the film typically needs 24 to 48 hours to dry and cure fully. During this time, avoid exposing the headlights to water or washing the vehicle. The film may appear slightly cloudy while curing—this is normal and will clear as moisture evaporates.
Q: Will headlight tint affect nighttime visibility?
A: The impact on visibility depends on the darkness of the tint. Lighter smoke tints have minimal impact on light output, while very dark tints can significantly reduce visibility. Always check your local regulations—many areas require headlights to meet a minimum Visible Light Transmission (VLT) standard, often around 70%. Choose a film that balances style with safety.
Q: Is headlight tint film legal?
A: Laws vary by location. In many jurisdictions, aftermarket tint film that reduces headlight output below legal minimums is not permitted for street use. Before installing, check your local Department of Motor Vehicles or transportation authority for specific regulations regarding headlight tinting.
Q: How long does headlight tint film last?
A: With proper installation and care, high-quality headlight tint film—especially TPU-based films—can last several years. Factors such as climate, UV exposure, driving conditions, and maintenance practices all influence longevity. Regular cleaning with gentle, non-abrasive products helps extend the film’s lifespan.
Q: Can I remove headlight tint film myself?
A: Yes. Use a heat gun or hair dryer on a low setting to gently warm the film, softening the adhesive. Peel the film back slowly at a shallow angle, keeping the pull close to the lens surface. Any remaining adhesive can be removed with isopropyl alcohol.
Q: What tools do I need to apply headlight tint film?
A: You will need the tint film itself, a heat gun or hair dryer, a squeegee or felt-edge applicator, a spray bottle with slip solution (water and mild soap), microfiber towels, isopropyl alcohol for cleaning, a sharp utility knife or precision blade for trimming, and measuring tape.
Why Choose Decowell for Your Headlight Tint Film
When it comes to headlight tint film, the quality of the material makes all the difference. Decowell offers premium TPU-based headlight tint films designed to deliver professional results whether you are a first-time DIY installer or an experienced professional.
Decowell’s headlight tint films are engineered for wet application, giving you the flexibility to reposition and adjust during installation. The TPU material stretches smoothly over complex headlight curves without creasing or lifting. Built-in UV protection prevents yellowing and fading over time, while the self-healing topcoat repairs minor surface scratches when exposed to heat.
Available in a range of shades—from subtle light smoke to bold dark black—Decowell films let you achieve the exact look you want for your vehicle. Whether you are aiming for a sleek, modern aesthetic or a more aggressive, customized appearance, Decowell has a film that fits your style.
Decowell’s commitment to quality means you get a product that is durable, easy to work with, and built to last. Every roll is manufactured to exacting standards, ensuring consistent thickness, clarity, and adhesion.
Ready to transform your headlights and protect them for the long haul? Explore Decowell’s full range of headlight tint films and find the perfect match for your vehicle.