Home » PPF Installation: Protecting Your Paint Like a Pro
Recent Posts
PPF Installation: Protecting Your Paint Like a Pro
Let’s be honest—you didn’t buy that car just to watch it get destroyed by gravel on the highway. Whether it’s a brand-new luxury sedan, a weekend sports car, or just your daily driver that you actually care about, the paint is the first thing people notice. And unfortunately, it’s also the first thing that gets damaged.
Paint Protection Film (PPF) has evolved far beyond the thick, yellowing “clear bras” of the early 2000s . Today, it’s a high-tech, self-heeling urethane armor that keeps your ride looking fresh for years. But here’s the thing: the film is only half the story. The installation is where the magic—or the disaster—happens.
In this guide, we’re breaking down everything you need to know about PPF installation: the science behind the film, the step-by-step process professionals use, whether you should attempt it yourself, and why proper installation is the only way to protect your investment.
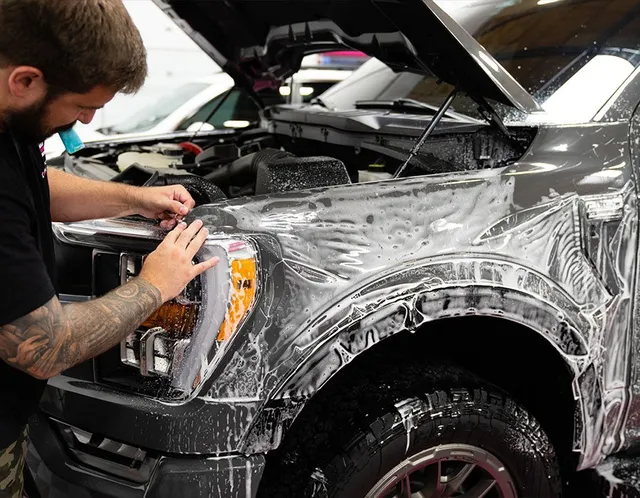
Table of Contents
What Exactly is Paint Protection Film?
Before we dive into the “how,” let’s quickly cover the “what.” Modern Paint Protection Film is a thermoplastic polyurethane (TPU) material applied to the painted surfaces of a vehicle . Unlike the old vinyl wraps of the past, today’s premium PPF is:
Self-Healing: Minor scratches and swirl marks disappear when exposed to heat (sunlight or hot water) because the polymer chains “relax” back into their original state .
Optically Clear: It doesn’t yellow or haze, so your factory paint color shines through brilliantly .
Impact Resistant: At 8 to 10 mils thick, it absorbs the kinetic energy of road debris, preventing rock chips and scratches .
Step-by-Step: How Professional PPF Installation Works
Walking into a shop and seeing a car wrapped in film might look like magic, but it’s actually a highly disciplined process. Here is how the pros do it.
Step 1: The Deep Clean and Decontamination
You can’t put a $2,000 film on a dirty car. The first step is a meticulous wash to remove dirt, grime, and old wax. But washing isn’t enough. Professionals use a clay bar to remove embedded industrial fallout, tree sap, and tar that regular washing leaves behind .
Step 2: Paint Correction (The Secret to a Flawless Finish)
Here is a hard truth: PPF does not hide imperfections; it magnifies them. If you have swirl marks or scratches under the film, they will be sealed in and visible forever. That’s why professional installers perform paint correction first. Using a dual-action polisher and compounds, they restore the paint to a flawless, mirror-like finish before the film ever touches the surface .
Step 3: The Final Wipe-Down
Immediately before laying the film, the installer wipes down the panel with an isopropyl alcohol (IPA) solution. This removes any lingering oils or dust, ensuring the adhesive bonds directly to the clear coat .
Step 4: Precision Cutting (Patterns vs. Bulk)
Gone are the days of installers holding a roll of film over your hood and guessing where to cut. Today, most reputable shops use computer-cut patterns. Using software, they input your vehicle’s specific VIN (Year/Make/Model) and a plotter cuts the film to the exact dimensions of your panels, accounting for sensors, curves, and edges .
Note: A shop that cuts film by hand on your paint with a razor blade is a red flag. This often leads to cut clear coat (“installer scars”).
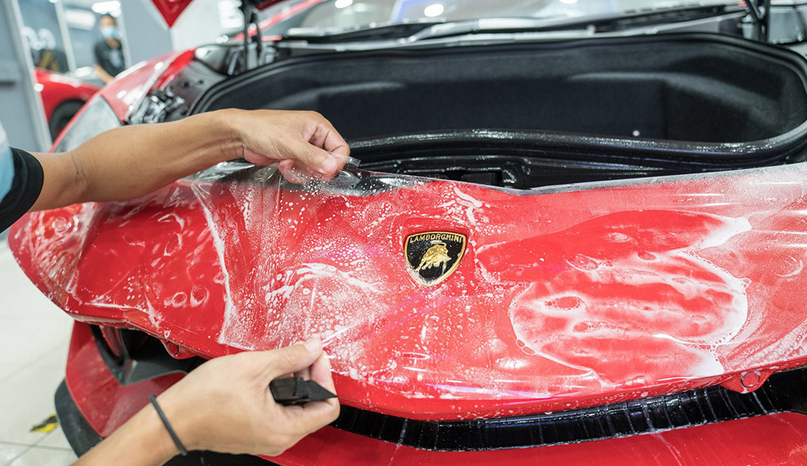
Step 5: The Application Solution
The installer sprays a mild soap-and-water solution (sometimes called “slip solution”) onto the adhesive side of the film and the vehicle’s paint. This slip layer allows them to move the film around to get the positioning absolutely perfect before it bonds .
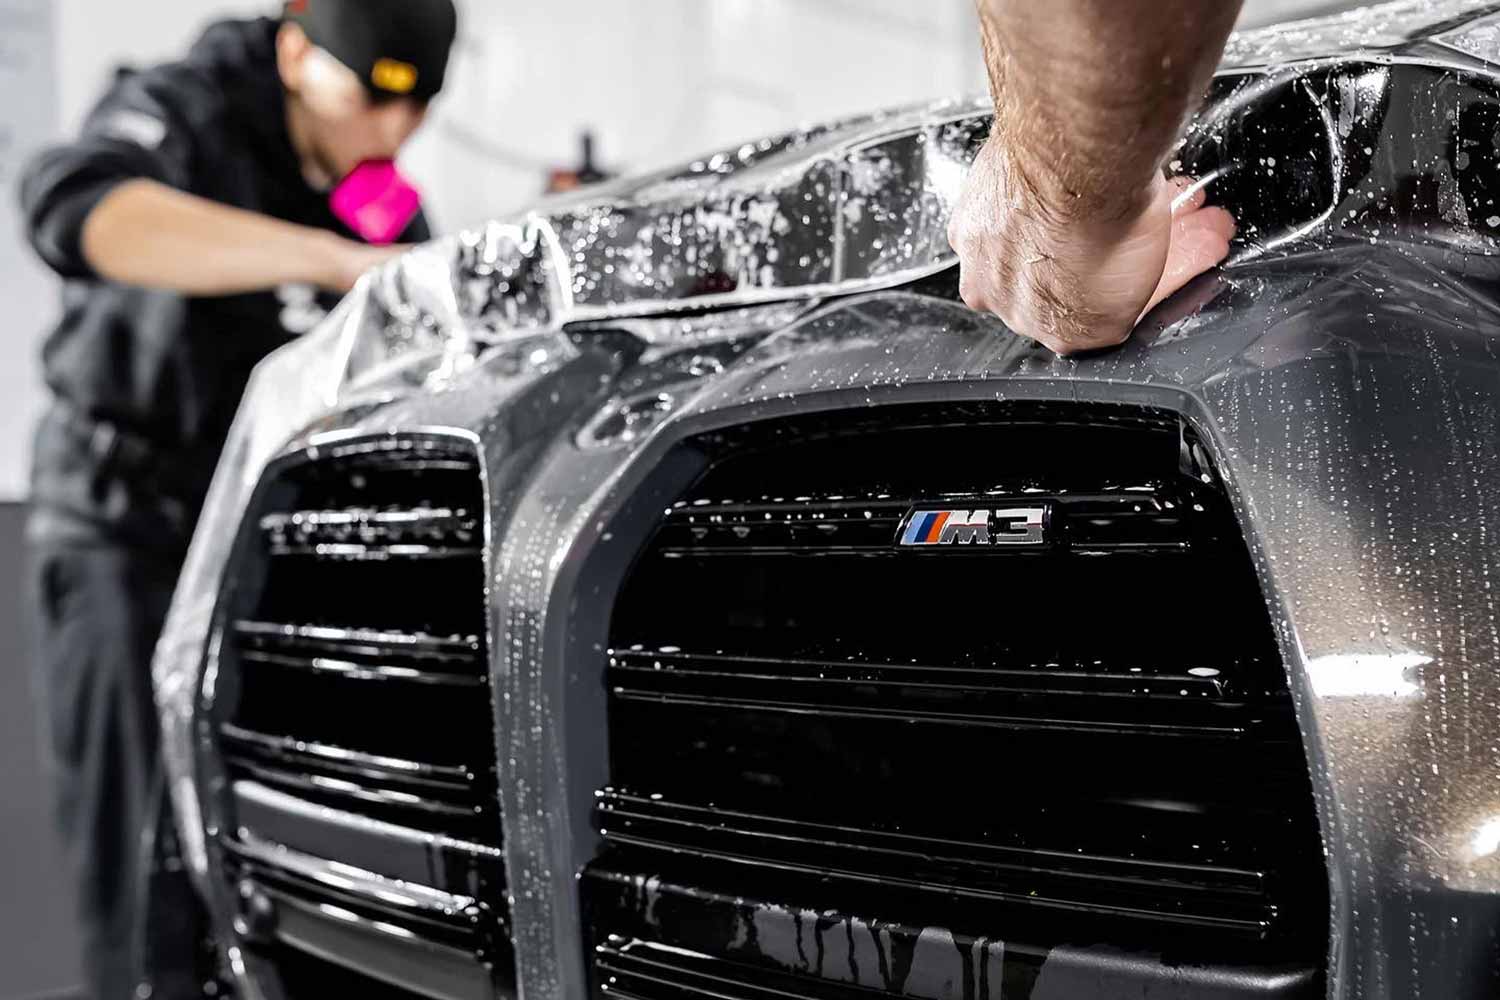
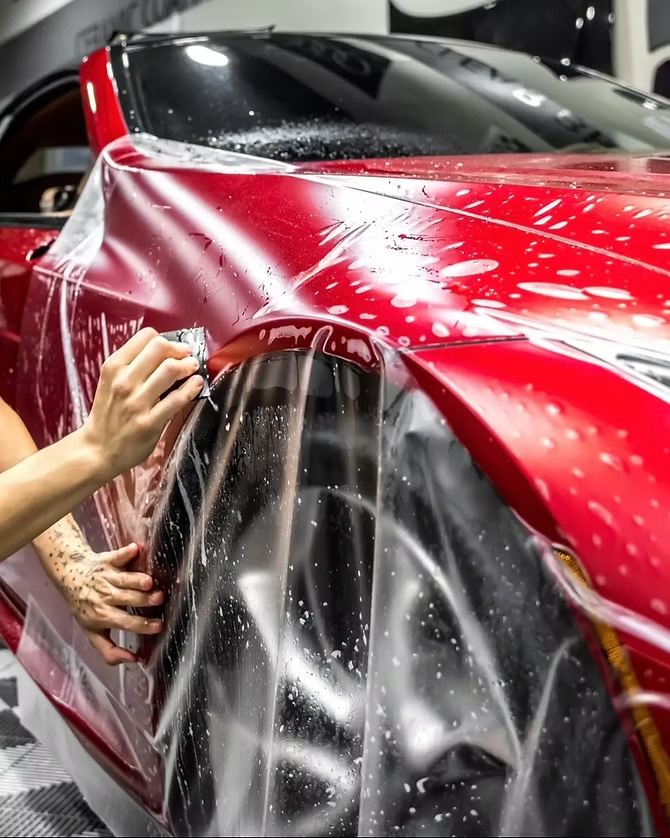
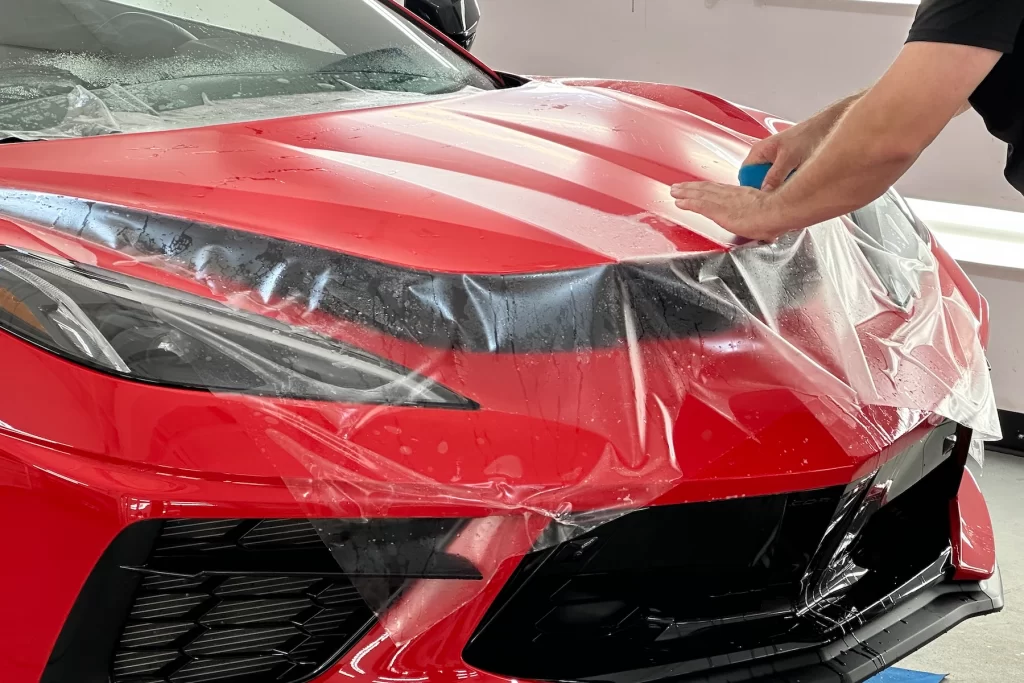
Step 6: Laying the Film and Squeegeeing
Carefully, the film is placed onto the wet surface. Using a squeegee wrapped in a soft felt or Teflon edge, the installer pushes out the slip solution from the center to the edges. This removes air bubbles and water, locking the film in place .
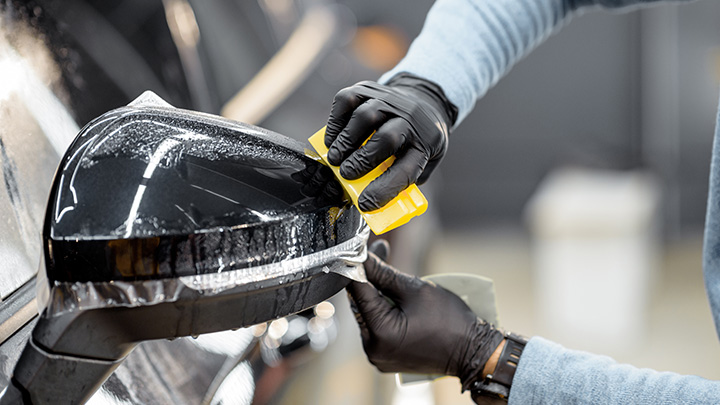
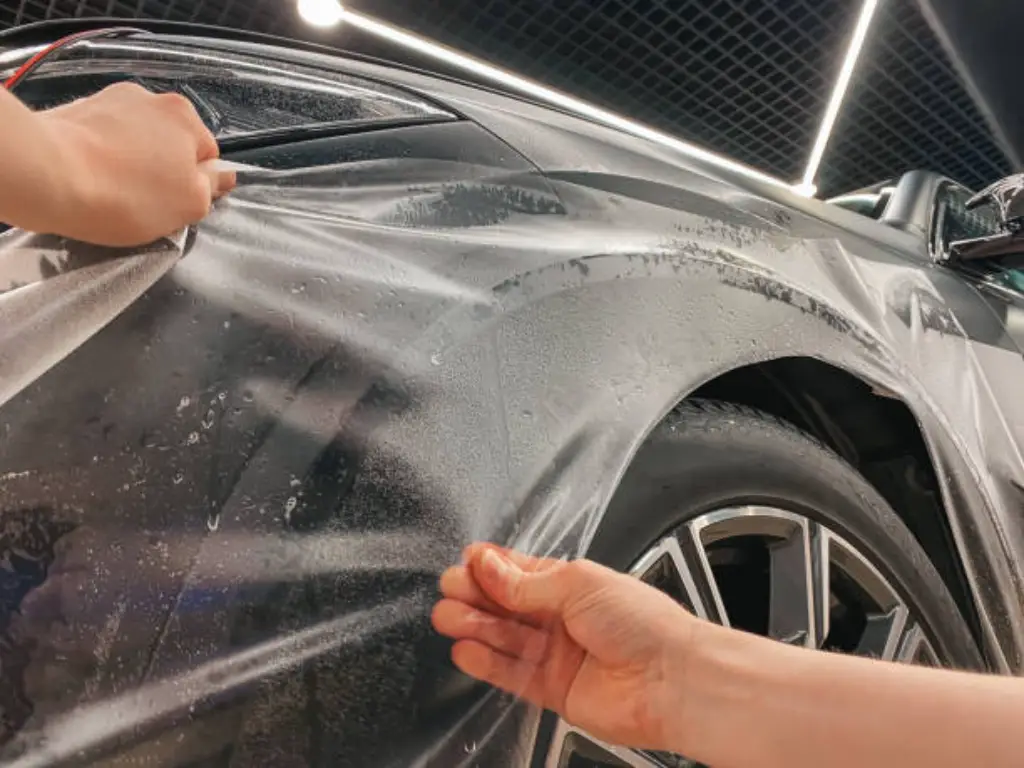
Step 7: Tackling the Curves (The Heat Gun)
This is where skill matters most. When the film hits complex curves (like bumper vents or side mirrors), the installer uses a heat gun. The heat makes the TPU flexible, allowing them to stretch and “post-heat” the film so it conforms perfectly to the body lines without over-stretching and thinning the material .
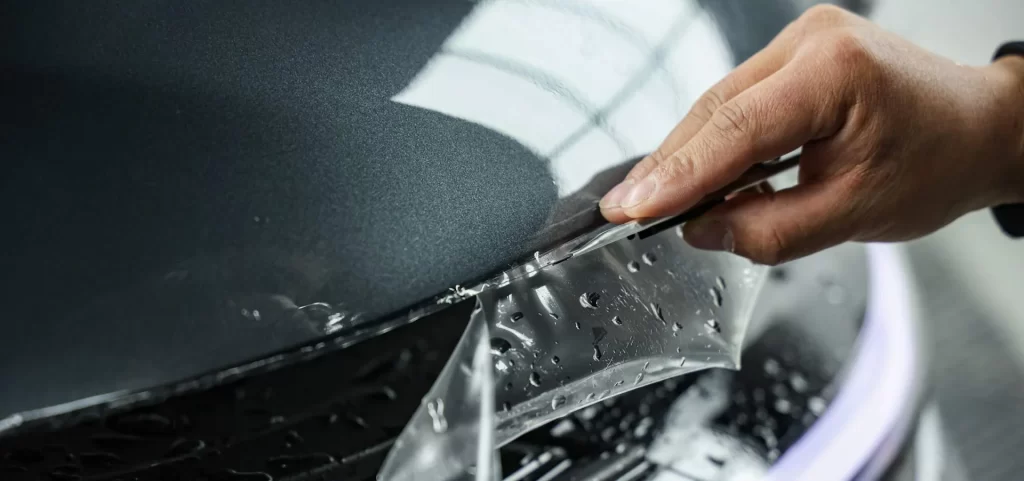
Step 8: Wrapping the Edges
A cheap installation leaves a visible dirt line. A premium installation involves wrapping the edges. Skilled technicians tuck the film around the edges of the hood, doors, and fenders. This makes the film virtually invisible and prevents dirt and wax from building up along the seams .
Step 9: The Final Inspection and Cure Time
After trimming the excess with precision, the installer does a final inspection under bright lights. Once approved, the vehicle is moved to a clean area to let the film cure. While the film is dry to the touch immediately, the adhesive needs time to fully bond—usually 24 to 72 hours .
The Big Debate: DIY vs. Professional Installation
It’s tempting. You watch a YouTube video of a guy installing a hood kit in 15 minutes, and you think, “I can do that.” But the reality is harsh.
The DIY Reality:
The Cost of Mistakes: Professional films are expensive. If you mess up a panel, you’re out the cost of that material.
The Learning Curve: Contamination (dust or hairs trapped under the film) is almost guaranteed in a garage environment.
The “Orange Peel” Effect: Without proper technique and heat management, DIY installs often result in a bumpy texture or visible stretch marks .
Warranty Void: Most manufacturers require professional certification to validate the warranty .
The Professional Advantage:
Dust-Free Environments: Professional shops use climate-controlled “clean rooms” to minimize airborne contaminants.
Rolled Edges: As mentioned, wrapping edges requires experience.
Guaranteed Results: If a bubble appears or an edge lifts in a year, a pro fixes it. You’re on your own with a DIY kit .
How Much Does PPF Installation Cost?
| Package | Coverage | Best For |
| Partial Front | 18-24″ of hood, bumper, mirrors | Budget protection, leases |
| Full Front | Full hood, fenders, bumper, mirrors | New cars, best ROI |
| Track Pack | Full Front + Rocker Panels | Sports cars, gravel roads |
| Full Vehicle | Every painted surface | Exotics, show cars |
Why the price range?
Material Quality: Top-tier films like XPEL Ultimate Plus or SunTek Reaction come with 10-year warranties against yellowing and peeling .
Vehicle Complexity: A boxy SUV is easier than a sports car with aggressive curves and vents.
Edge-Wrapping: Shops that wrap edges (vs. cutting to a visible line) charge more because it takes significantly longer, but the result is superior .
PPF vs. Ceramic Coating: Do I Need Both?
This is the most common question in car care. The answer is simple: They do different jobs.
PPF is a physical barrier. It stops rocks from chipping your paint.
Ceramic Coating is a chemical barrier. It adds gloss, repels water, and protects against bird droppings and acid rain, but it offers zero protection against rock chips .
The Ultimate Setup: Apply PPF to the high-impact areas (bumper, hood, mirrors), then apply a ceramic coating over the entire car (including the PPF). This gives you the impact protection of PPF and the easy-clean, glossy finish of ceramic coating .
How to Care for Your PPF (Once It’s Installed)
Your installer did a great job. Now, keep it that way:
Wait to Wash: Don’t wash the car for at least a week to allow the edges to fully seal .
Hand Wash Only: Use the “two-bucket method” with a pH-neutral car shampoo and a soft microfiber mitt. Avoid automatic car washes with bristles .
Use the Right Towels: Dry with a plush microfiber towel (300-400 GSM). Pat dry rather than rubbing hard .
Remove Contaminants Quickly: Bird droppings and bug splatter are acidic. Remove them immediately to prevent staining .
Apply a PPF Sealant: Every 6 months, use a spray sealant designed for PPF to boost hydrophobicity.
Why Choose Professional PPF Installation?
Your car is likely one of the most expensive assets you own. Protecting it shouldn’t be an experiment. Professional installation isn’t just about slapping plastic on a car; it’s about surgical precision, years of experience reading how film reacts to heat and stretch, and a guarantee that the job is done right.
At Decowell, we don’t just apply film—we engineer protection. Using only top-tier films and employing master installers who specialize in wrapped edges and complex curves, we ensure your vehicle leaves the shop looking better than when it arrived.
Ready to Shield Your Ride?
Don’t let another commute on the highway add a new rock chip to your collection. Whether you need a simple front-end wrap or a full-body matte finish conversion, we’ve got the expertise to make it happen.
Contact Us Today for a Free Consultation and Quote.
Frequently Asked Questions (FAQ)
Q: How long does a PPF installation take?
A: A full front-end wrap typically takes 1-2 days. A full vehicle wrap can take 5-7 days, depending on the complexity of the car .
Q: Can PPF be removed without damaging the paint?
A: Yes. High-quality films are designed to be removed years later without pulling off the clear coat. However, this is why professional installation (and using reputable brands) matters—cheap films can leave adhesive residue .
Q: Will PPF make my car shine?
A: Premium clear PPF has a high-gloss finish that enhances the paint’s depth. There are also “matte” or “stealth” films that give your car a satin, non-reflective look .
Q: Does PPF cover the entire car?
A: It can, but many owners opt for “high-impact zones”—the front bumper, hood, fenders, mirrors, and rocker panels—since those areas take the most abuse .
Q: How do self-healing films work?
A: The top coat of the film has elastic polymers. When you pour hot water over a scratch or the car sits in the sun, the heat excites the molecules, causing them to “relax” back into their original position, effectively closing the scratch .
Q: Is PPF worth it on an older car?
A: Yes, but only if the paint is in good condition. If the paint is heavily swirled, you may need to invest in paint correction first to ensure the film looks good .