Home » PPF Application: Protect Your Car’s Paint Like a Pro
Recent Posts
PPF Application: Protect Your Car’s Paint Like a Pro
Paint Protection Film, or PPF for short, has quickly become one of the most talked-about solutions in the automotive world. And for good reason. Rock chips, road debris, bug splatter, UV rays, and even bird droppings can ruin your car’s paint faster than you’d expect. That’s where PPF comes in. When applied correctly, this transparent polyurethane layer acts like an invisible shield, absorbing impacts and keeping your vehicle looking factory-fresh for years.
The global paint protection film market is growing fast. In 2025 alone, the market was valued at over one billion dollars, with projections continuing to climb through 2030 as more car owners recognize the value of preserving their paint. Whether you’re a professional installer, a shop owner, or a DIY enthusiast, understanding the ins and outs of PPF application is essential. And if you’re serious about quality and affordability, Decowell offers some of the most reliable film solutions in the industry.
This guide walks you through the entire PPF application process — from workspace setup and tool selection to step-by-step installation, common pitfalls, maintenance tips, and more.
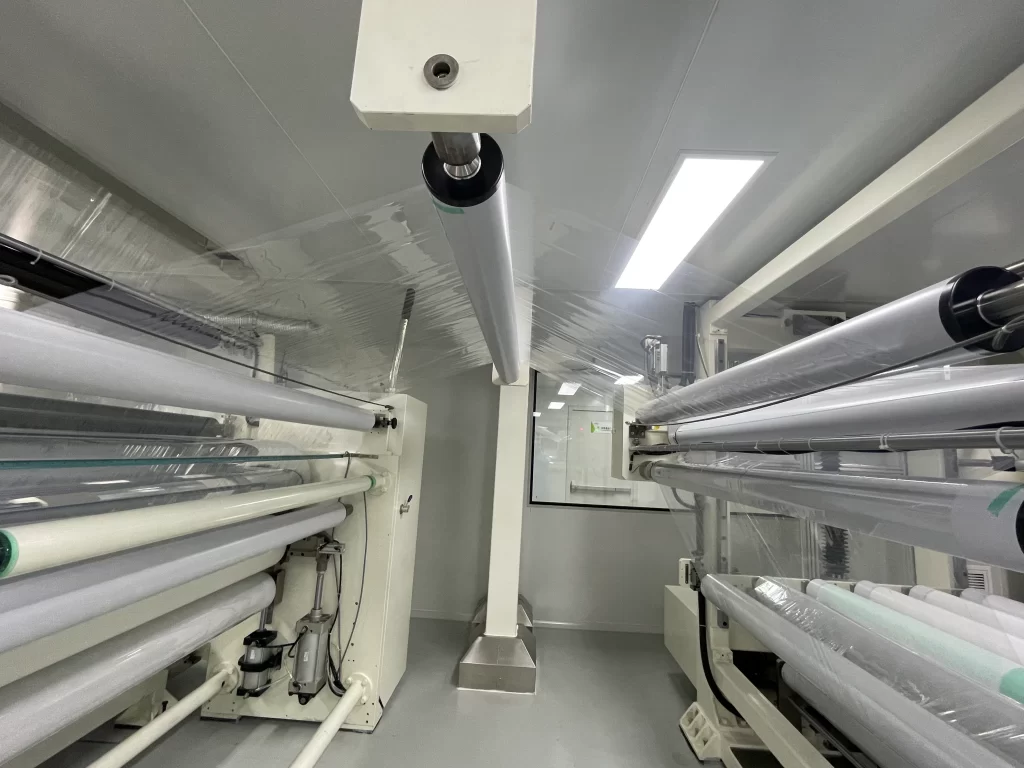
Table of Contents
What Exactly Is Paint Protection Film and How Does It Work?
Before diving into the application process, it helps to know what you’re working with. Paint Protection Film is a thermoplastic urethane (TPU) layer applied directly to your car’s painted surfaces. It’s not a coating that sits on top — it bonds with the paint to create a durable, flexible barrier that absorbs physical damage. Modern PPF also includes self-healing properties, meaning minor scratches and swirl marks disappear when exposed to heat, whether from sunlight or warm water.
Compared to ceramic coatings, PPF offers much better impact protection. While ceramic coatings emphasize gloss and hydrophobic properties, PPF is roughly twenty times thicker, making it the clear winner when it comes to stopping rock chips and road abrasion. Many car owners choose a layered approach — PPF on high-impact areas like the hood and bumpers, with ceramic coating over the rest — but if you want all-around protection, a full PPF wrap is hard to beat.
Setting Up Your Workspace and Gathering the Right Tools
PPF installation is not something you rush. The environment matters just as much as your technique. Professional installers always work in clean, well-lit, and temperature-controlled spaces. Dust, debris, and even microscopic particles floating in the air can compromise film adhesion and leave visible imperfections under the film.
Here’s what you’ll need before starting:
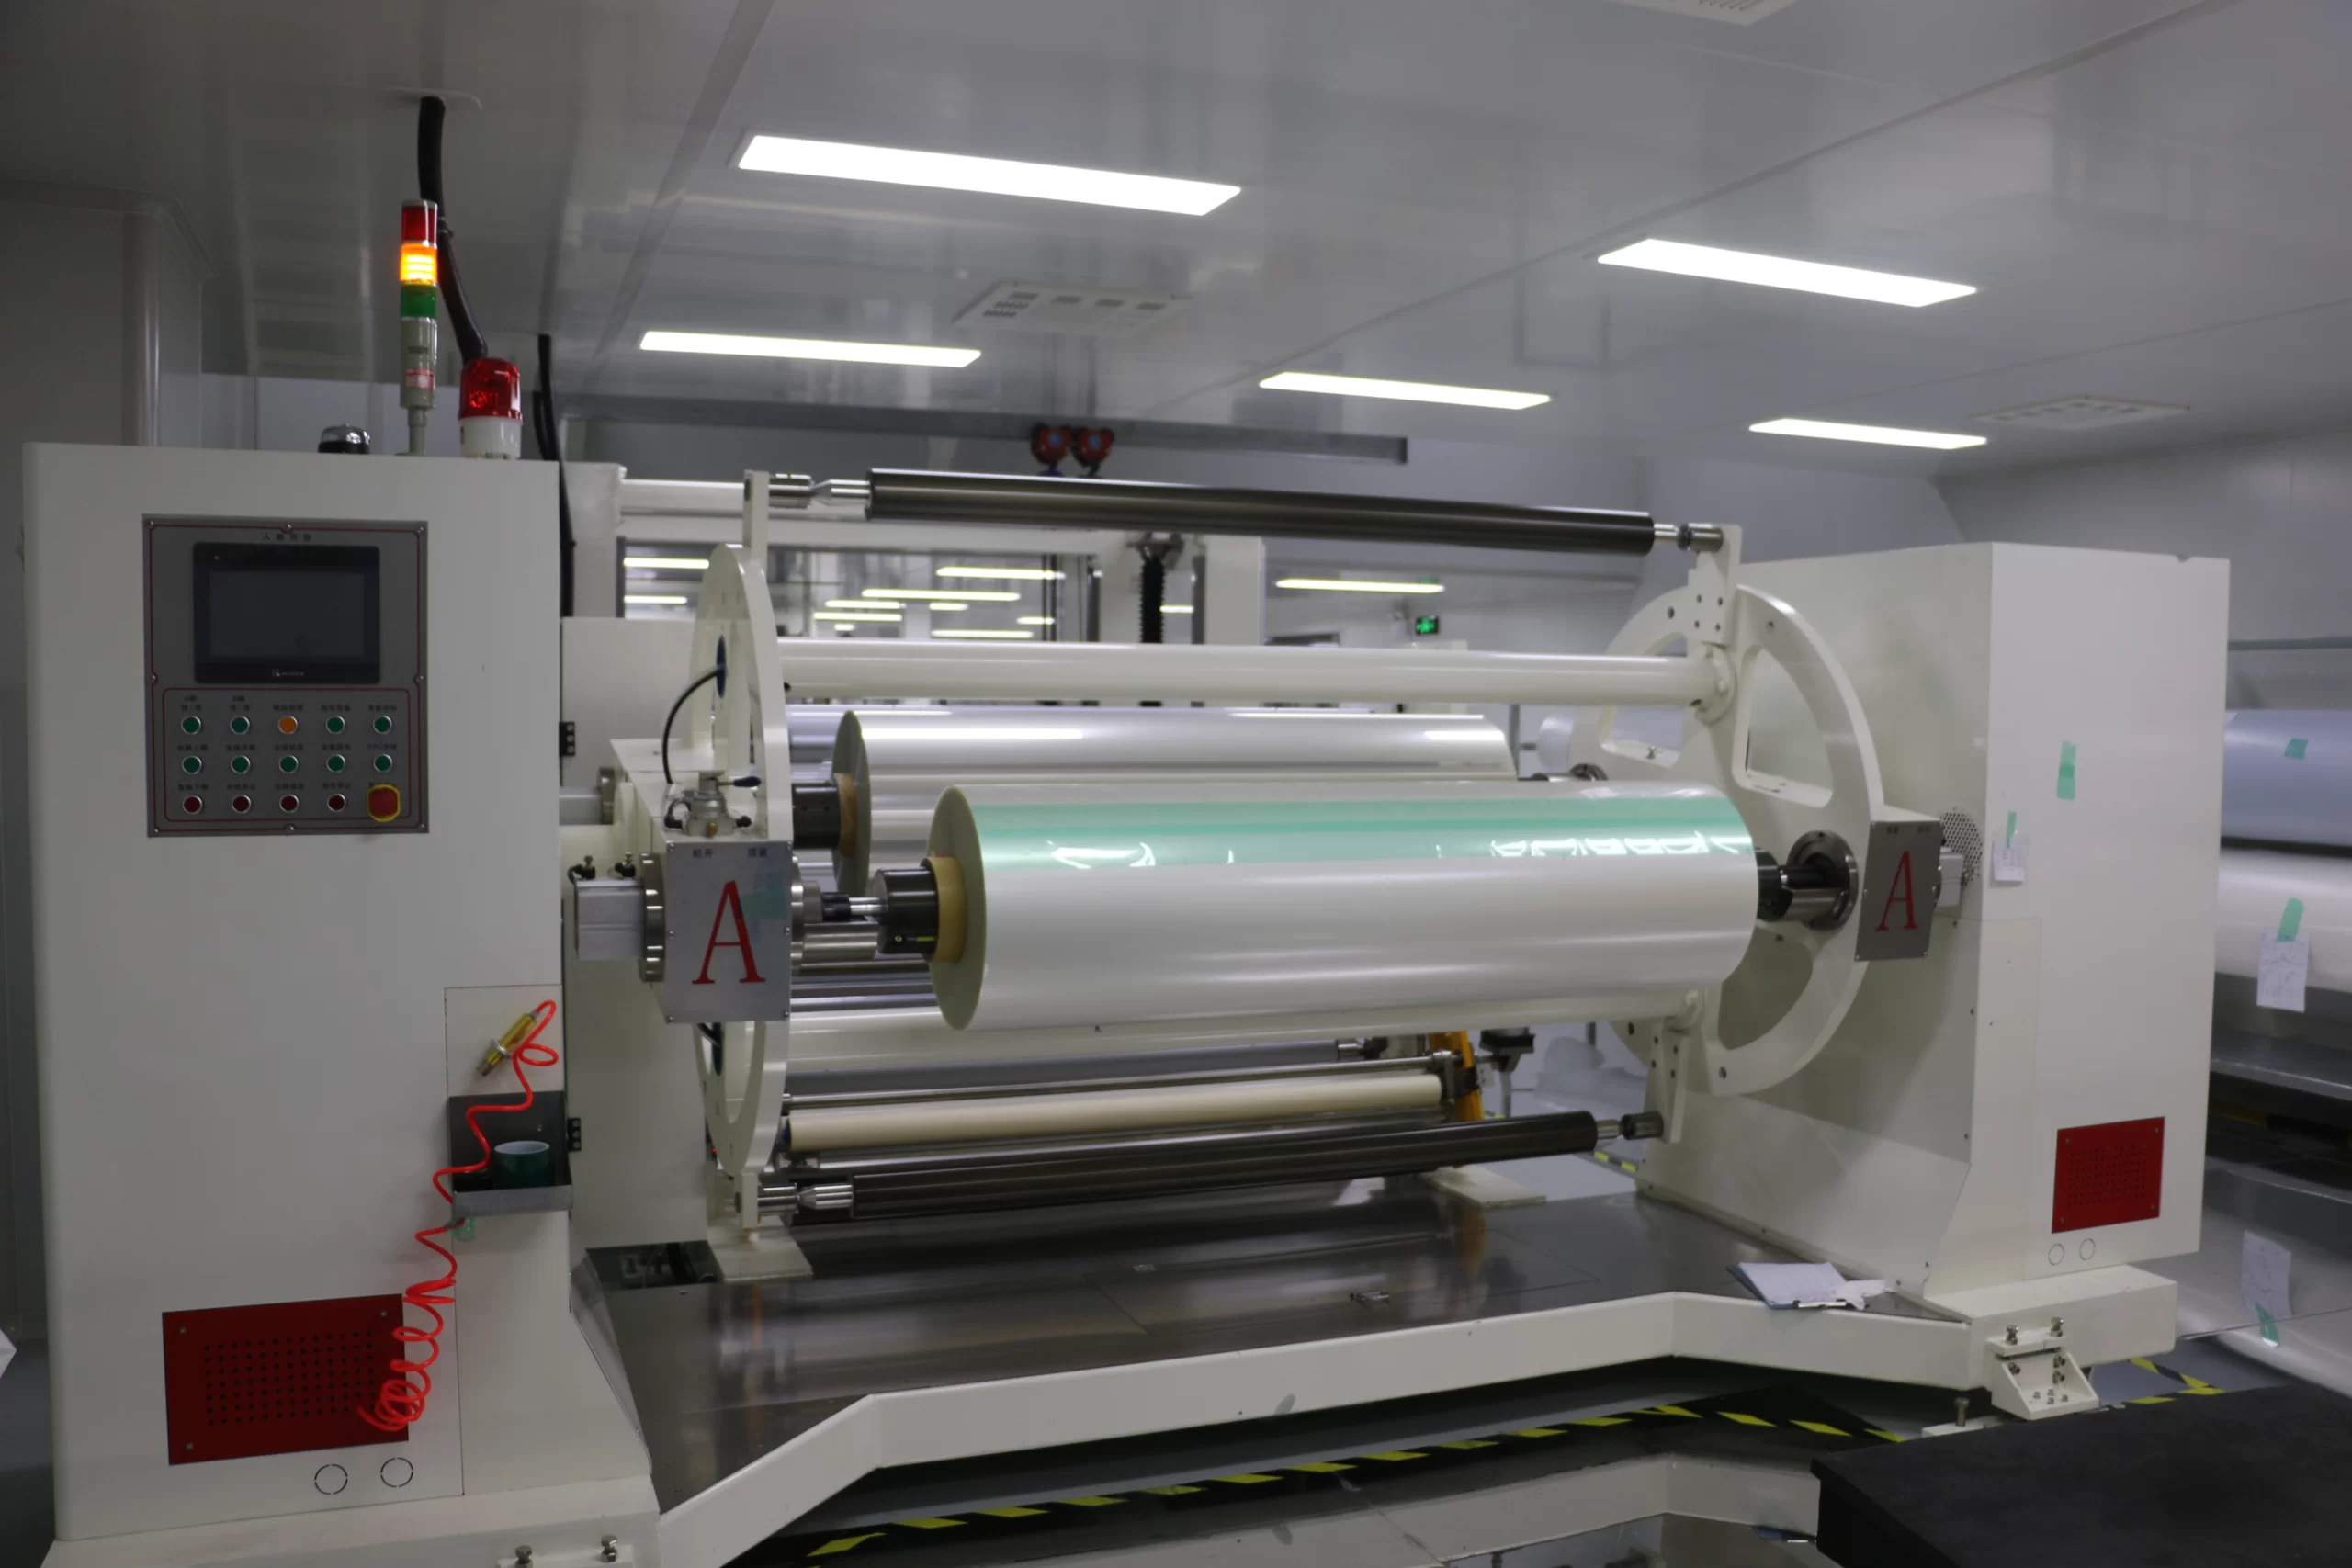
High-quality paint protection film (pre-cut or bulk roll)
Spray bottles — one with slip solution and one with tack solution
Distilled water
Baby shampoo or PPF-approved soap
Isopropyl alcohol (70% or higher) for final surface prep
Soft-edge and hard-edge squeegees
Heat gun — essential for molding the film around curves and edges
A sharp snap-off blade for trimming
Microfiber cloths (lint-free)
Clay bar for decontamination
Using the right tools isn’t optional. Cheap substitutes can contaminate the surface, cause scratches, or result in uneven pressure during application.
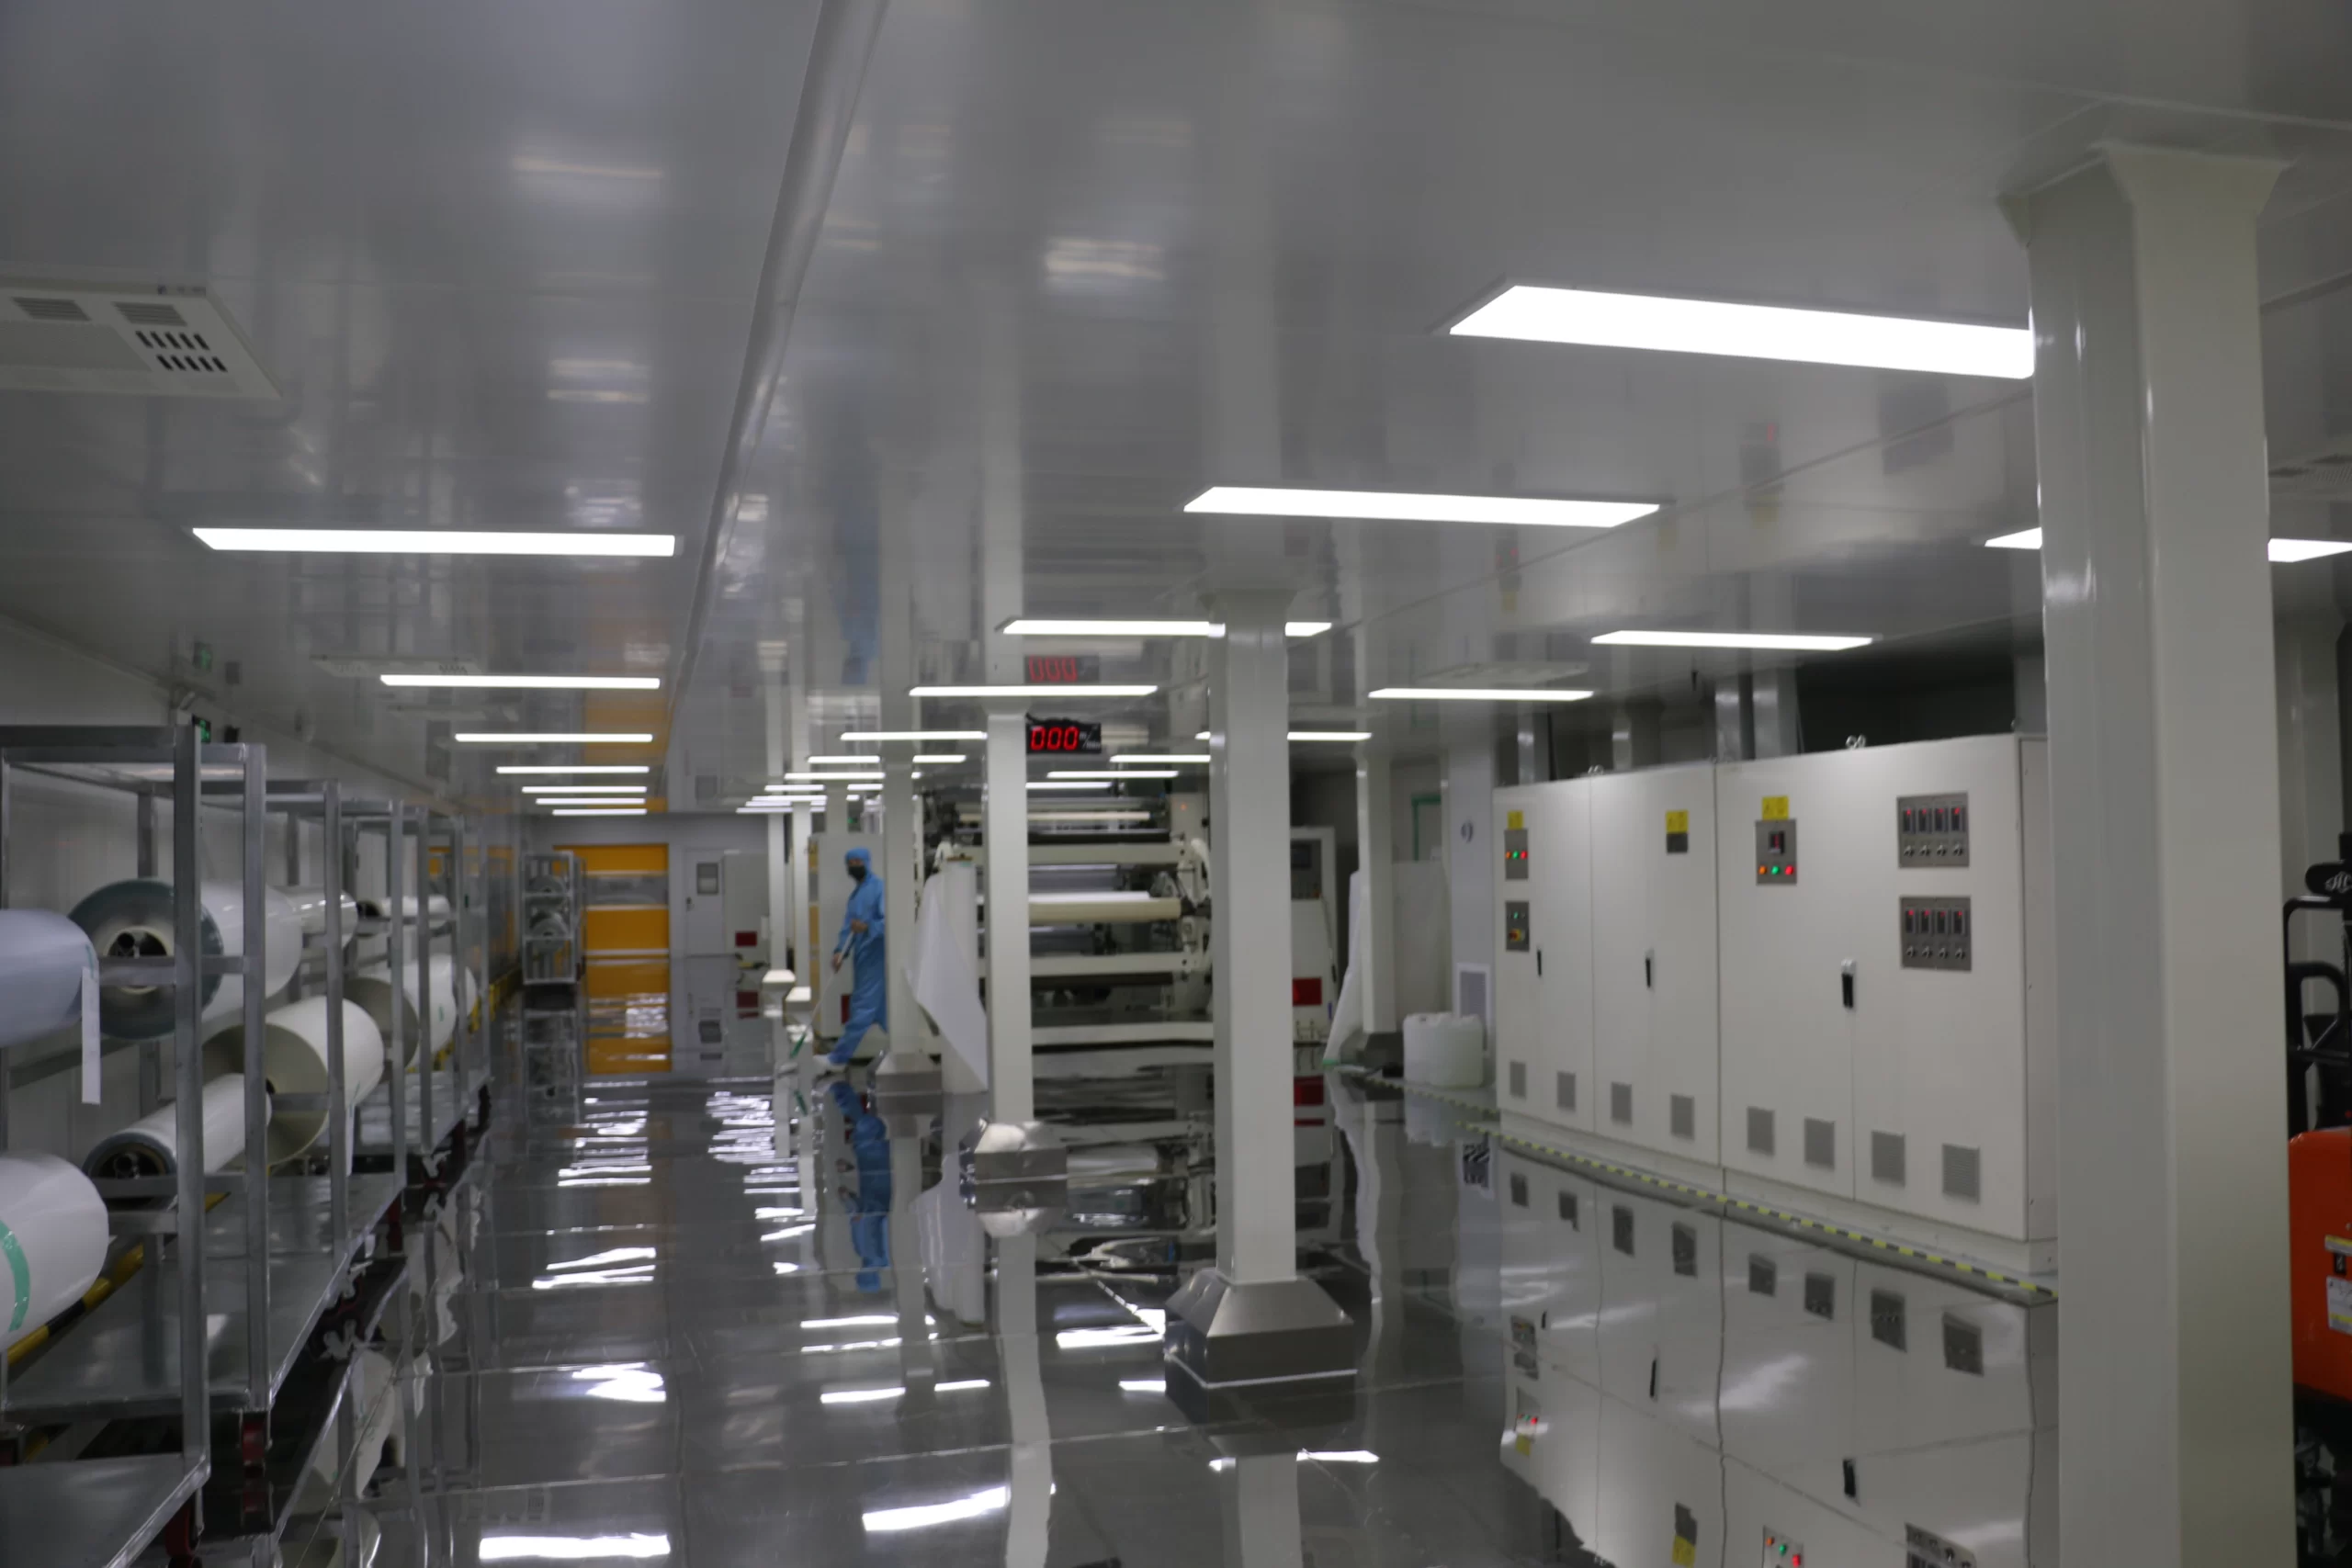
For installers looking to maintain efficiency and reduce waste, pre-cut patterns made with cutting software are a game-changer. They help you maximize coverage on each panel while minimizing material waste, so every piece of Decowell film goes exactly where it should.
Step-by-Step PPF Application Process
Now let’s break down the actual installation. Whether you’re working on a full car or just a few panels, the process follows the same core steps.
Step 1: Thorough Surface Preparation
This is the most critical stage, and skipping it is the fastest way to ruin an installation. You can’t apply film to a dirty surface and expect a clean finish. Even invisible contaminants like wax residue or silicone will prevent the film from bonding properly, leading to bubbles, peeling, and premature failure.
Start with a thorough hand wash using pH-neutral car shampoo. Remove tar, bugs, and road grime with a clay bar. If the paint has existing scratches or swirl marks, a light machine polish will help smooth things out — PPF won’t hide damage underneath, so the surface needs to be as perfect as possible before the film goes on. Finish by wiping the panel down with isopropyl alcohol to remove any last traces of oil or residue.
Step 2: Measuring, Cutting, and Positioning
Once the surface is clean and dry, it’s time to measure and cut the film. Pre-cut patterns make this step much easier and more precise, especially for complex panels like bumpers and mirrors. If you’re working with a bulk roll instead, carefully measure each panel and cut the film to size.
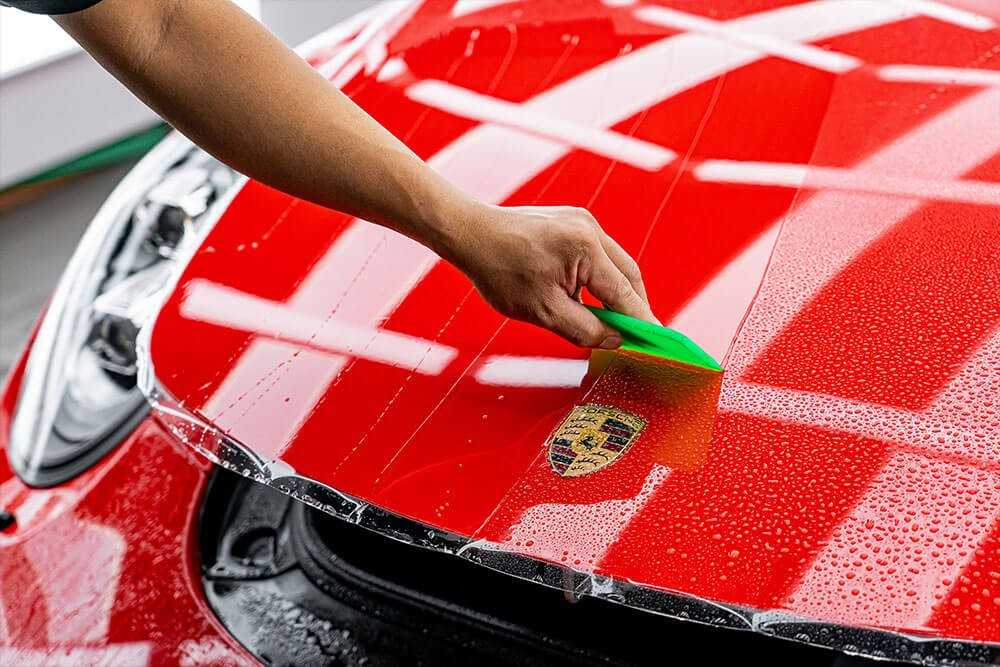
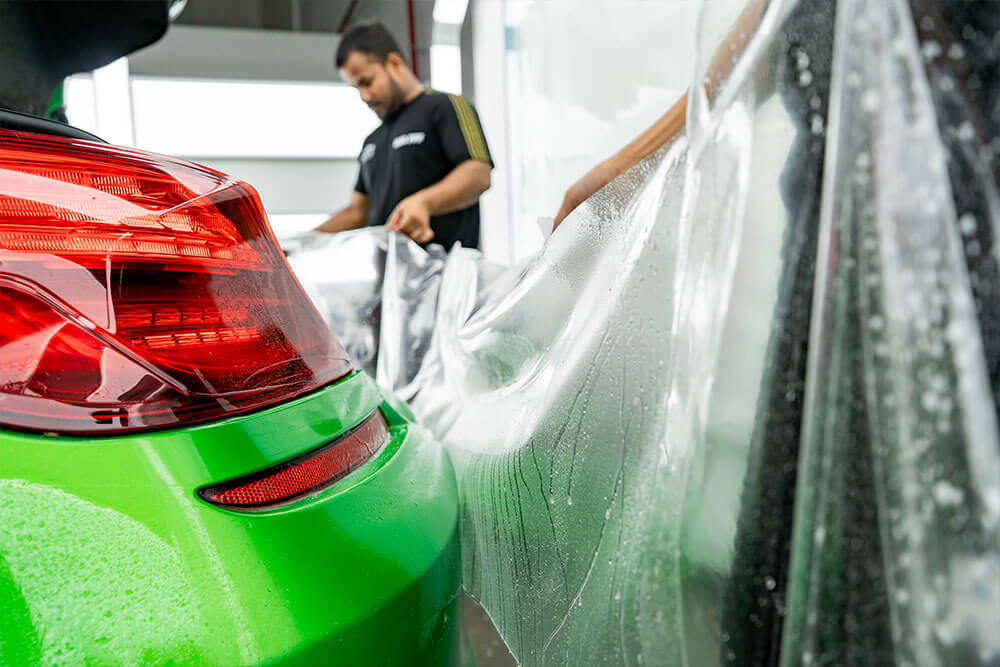
Spray the panel with slip solution — a diluted mixture of water and baby shampoo — and do the same to the adhesive side of the film. This creates a slippery layer that allows you to float the film into position without it sticking prematurely. Lay the film onto the panel and gently align it, making sure it’s centered and evenly distributed. Avoid overstretching the film, as this can distort the material and reduce its effectiveness over time.
Step 3: Squeegeeing and Smoothing Out Bubbles
Using a soft-edge squeegee, work from the center of the panel outward, pushing both the water and any trapped air toward the edges. This takes patience. Rushing leads to bubbles or creases that are difficult to fix later. Keep your passes consistent and your pressure even. If you encounter stubborn air pockets, lift the film slightly, spray more slip solution, and try again.
Modern PPF also responds well to heat. A heat gun helps soften the film, making it more pliable and easier to conform to complex contours like side mirrors, bumper edges, and door handles. Controlled heat application also activates the adhesive and helps eliminate “fingers” or tension marks that sometimes appear near edges.
Step 4: Edge Wrapping and Trimming
One of the biggest tells of a quality installation is how the edges are handled. The film should wrap around edges and tuck into crevices, disappearing seamlessly into the body of the car. Exposed edges collect dirt and moisture over time, which eventually leads to peeling.
Use a tack solution around the edges to improve adhesion. Trim the film cleanly with a sharp blade, leaving just enough to wrap around the panel’s edge. For sharp corners, make relief cuts to prevent wrinkling. If you’re using Decowell’s films, you’ll notice they’re designed to handle these precision cuts without tearing or losing their elasticity.
After tucking and wrapping, go over the edges with a heat gun one more time to ensure everything is fully adhered.
Step 5: Final Inspection and Curing
After the installation is complete, step back and inspect every inch of the car. Look for any remaining bubbles, lifting edges, or alignment issues. If you find minor imperfections, a heat gun or a small needle can help release trapped air.
The film needs time to fully cure. Plan to leave the vehicle untouched for at least a week — no washing, no waxing, and no high-pressure water near the edges. Small bubbles or a hazy appearance during the first few weeks are normal as moisture evaporates from underneath the film. Don’t press on them; they’ll clear up on their own.
Common PPF Installation Mistakes and How to Avoid Them
Even with the best materials, mistakes happen. But knowing what to watch out for will save you a lot of frustration.
Improper surface preparation is by far the most common mistake. Dust, grease, or leftover wax will show up as bumps or poor adhesion. Always use a clay bar and isopropyl alcohol wipe-down before applying the film.
Poor alignment and overstretching are next on the list. Misaligned panels leave exposed paint that’s vulnerable to chips. Stretching the film too much can distort the pattern and reduce the self-healing properties. Take your time positioning the film, and never force it into place.
Environmental issues are often overlooked. Installing PPF in direct sunlight, extreme temperatures, or a dusty garage leads to contamination under the film and faster adhesive failure. Work indoors with consistent temperature and good lighting.
Rushing the process is another major pitfall. PPF application isn’t a race. Each step — from cleaning to squeegeeing to edge wrapping — needs attention and patience. When you rush, you miss details that turn into long-term problems like lifting corners or visible creases.
Lastly, don’t ignore edge sealing. Many DIY installers cut the film flush with the panel and call it done. But unsealed edges are vulnerable to dirt and moisture. Always wrap whenever possible, and use tack solution or heat to lock the edges in place.
Professional Installation vs. DIY: What Makes Sense for You?
One question that comes up constantly is whether to install PPF yourself or hire a pro. The honest answer depends on your experience level and the scope of the job.
DIY installation works best for small, flat panels: door edges, side mirrors, headlights, interior trim, and partial hood sections. Pre-cut kits designed for these areas are more forgiving, and the cost is significantly lower. If you’re patient and willing to learn, you can get decent results on these smaller sections.
But professional installation is strongly recommended for full cars, bumpers with complex curves, luxury vehicles, and anything involving large, contoured panels. Pros have the training, tools, and controlled environments needed to get seamless results. They know how to handle heat application, edge wrapping, and tricky contours without introducing bubbles or stretch marks.
If you’re new to PPF application, start small. Practicing on a headlight or door cup will teach you more about slip solution ratios, squeegee technique, and heat management than jumping straight into a full front bumper job. And no matter which route you choose, the quality of the film itself matters enormously. That’s why Decowell provides film that performs consistently, whether you’re a first-time installer or a veteran shop owner.
Maintaining Your PPF After Installation
Once your paint protection film is properly installed, maintaining it is fairly straightforward — but it’s not the same as maintaining bare paint.
For the first week after installation, don’t wash the vehicle at all. The adhesive needs time to fully bond. For the first two weeks, avoid high-pressure water near the film’s edges. And for the first month, skip waxing or applying any coatings. Small bubbles or a hazy look during this period are normal as moisture evaporates; don’t try to press them out.
After the film is fully cured, hand washing is best. Use a pH-neutral car shampoo and a soft microfiber wash mitt. Avoid automatic car washes with rotating brushes — they can lift edges and leave scratches. If you use a pressure washer, keep the nozzle at least a foot away and avoid spraying directly at the edges of the film.
Bird droppings and bug splatter should be cleaned off as soon as possible. The acids in these materials can permanently etch the film if left sitting in the sun.
Self-healing is one of the coolest features of modern TPU films. Minor surface scratches and swirl marks will disappear with heat — direct sunlight on a warm day is often enough. For faster results, pour warm water over the scratched area or use a heat gun on low from a safe distance. Deep cuts that go through the film body, however, won’t self-heal and may require section replacement.
If you want to take protection to the next level, applying a ceramic coating over your PPF works beautifully together. The ceramic layer adds hydrophobic performance, reduces how often you need to wash, and makes the whole surface easier to maintain.
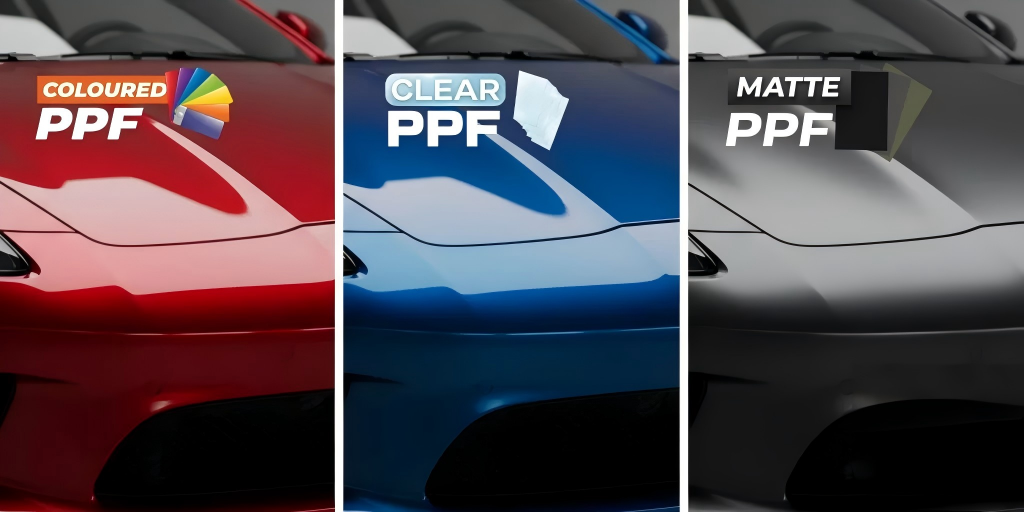
Choosing the Right Paint Protection Film for Your Needs
Not all paint protection films are created equal. When evaluating film options, several factors should guide your decision.
Material quality is the foundation. Premium films use thermoplastic polyurethane with self-healing top coats, UV-resistant clear layers, and hydrophobic surfaces. Cheaper films may yellow, crack, or lose clarity within a couple of years.
Optical clarity matters more than many people realize. The best films are nearly invisible once installed, preserving your car’s original color and gloss. Lower-quality films can create a slight orange-peel effect or change the way light reflects off the paint.
Self-healing properties have become a standard expectation in the industry. Heat-activated recovery means your film stays smooth and blemish-free over time without requiring frequent touch-ups.
Manufacturer reputation and support also play a role. A film might look good on the roll, but how does it perform during installation? Does it stretch evenly without tearing? Does the adhesive bond cleanly without leaving residue? Does it conform well to complex curves without lifting? These are the differences that separate good film from great film.
For shops and installers looking for a dependable partner, Decowell combines all of these qualities into a product line built for real-world performance. Whether you’re protecting a daily driver, a luxury sedan, or a weekend toy, the right film makes every step of the application process easier — and the final results speak for themselves.
How PPF Compares to Ceramic Coating and Other Protection Methods
A quick comparison helps put things in perspective. PPF and ceramic coating serve different purposes, and they work best when used together.
PPF is a physical barrier. Its main job is absorbing impact — stopping rock chips, road debris, and scratches before they reach your paint. At roughly two hundred microns thick, PPF offers far more impact resistance than any coating.
Ceramic coating, by contrast, is a chemical bond. It adds gloss, hydrophobicity, and chemical resistance on top of the paint or PPF. Ceramic won’t stop a rock chip — but it makes the surface slicker, easier to clean, and more resistant to bird droppings and UV fading.
Many car owners choose PPF on high-impact areas like the hood, bumper, and side mirrors, then apply ceramic coating over the entire vehicle, including the film. This layered approach gives you the best of both worlds: impact protection where you need it most, and hydrophobic ease-of-cleaning everywhere.
For those who want full coverage, a complete PPF wrap with a ceramic top coat is the gold standard in paint protection today.
Frequently Asked Questions About PPF Application
How long does PPF installation typically take?
It depends on the size of the job. A full vehicle PPF wrap can take five to seven days for a professional installation, including paint correction and curing time. Partial kits for smaller areas like hoods or bumpers take only a few hours.
Can I apply paint protection film myself, or do I need a professional?
You can install PPF on your own for small, flat areas like door edges, headlights, and side mirrors. For full panels, complex curves, or expensive vehicles, professional installation is strongly recommended. The learning curve is steep, and mistakes can waste expensive film.
What’s the difference between pre-cut and bulk PPF?
Pre-cut film is cut by software to match each panel of your specific vehicle. It saves time and reduces waste. Bulk film comes on a roll and requires manual trimming during installation. Pre-cut is more beginner-friendly; bulk gives you flexibility for custom coverage.
Will PPF yellow or discolor over time?
High-quality PPF includes UV inhibitors that prevent yellowing. Cheaper films may change color after prolonged sun exposure. This is one of those areas where the quality of the film truly matters.
How do I clean PPF once it’s installed?
Use pH-neutral car shampoo, a soft microfiber wash mitt, and the two-bucket method. Hand washing is safest. If you use a pressure washer, keep it at least a foot from the film edges. Avoid automatic car washes with rotating brushes.
Does PPF self-heal from any scratch?
Self-healing works on light surface scratches and swirl marks. Deep cuts that penetrate the film body won’t heal and may require replacement of that section.
Is PPF worth the cost for an older car?
It depends on the condition of the paint. PPF doesn’t restore or hide existing damage — it preserves what’s already there. If your car’s paint is still in good shape and you plan to keep it for years, PPF can help maintain its value.
Can I put ceramic coating over PPF?
Yes. In fact, applying ceramic coating over PPF gives you the best of both worlds. The film handles impact protection, while the coating adds hydrophobic properties and makes the car easier to clean.
Why Decowell Should Be Your Go-To for Paint Protection Film
At Decowell, the focus has always been on delivering film that performs. From the clarity of the material to the consistency of the adhesive, every roll is made to help installers work faster and achieve better finishes. Whether you’re applying PPF on a commercial fleet, a dealership’s inventory, or your own weekend project, Decowell offers film that balances quality with real-world usability.
If you’ve been searching for a film that won’t fight you during installation — something that stretches evenly, conforms to tight curves without lifting, and stays clear for the long haul — Decowell is worth a closer look.
Ready to protect your vehicle’s paint the right way? Reach out to Decowell today. Tell them what you’re working on — whether it’s a single panel or a whole fleet — and they’ll help you find the right film for the job.