Home » Install Paint Protection Film: Protect Your Vehicle’s Paint Like a Pro
Recent Posts
Install Paint Protection Film: Protect Your Vehicle's Paint Like a Pro
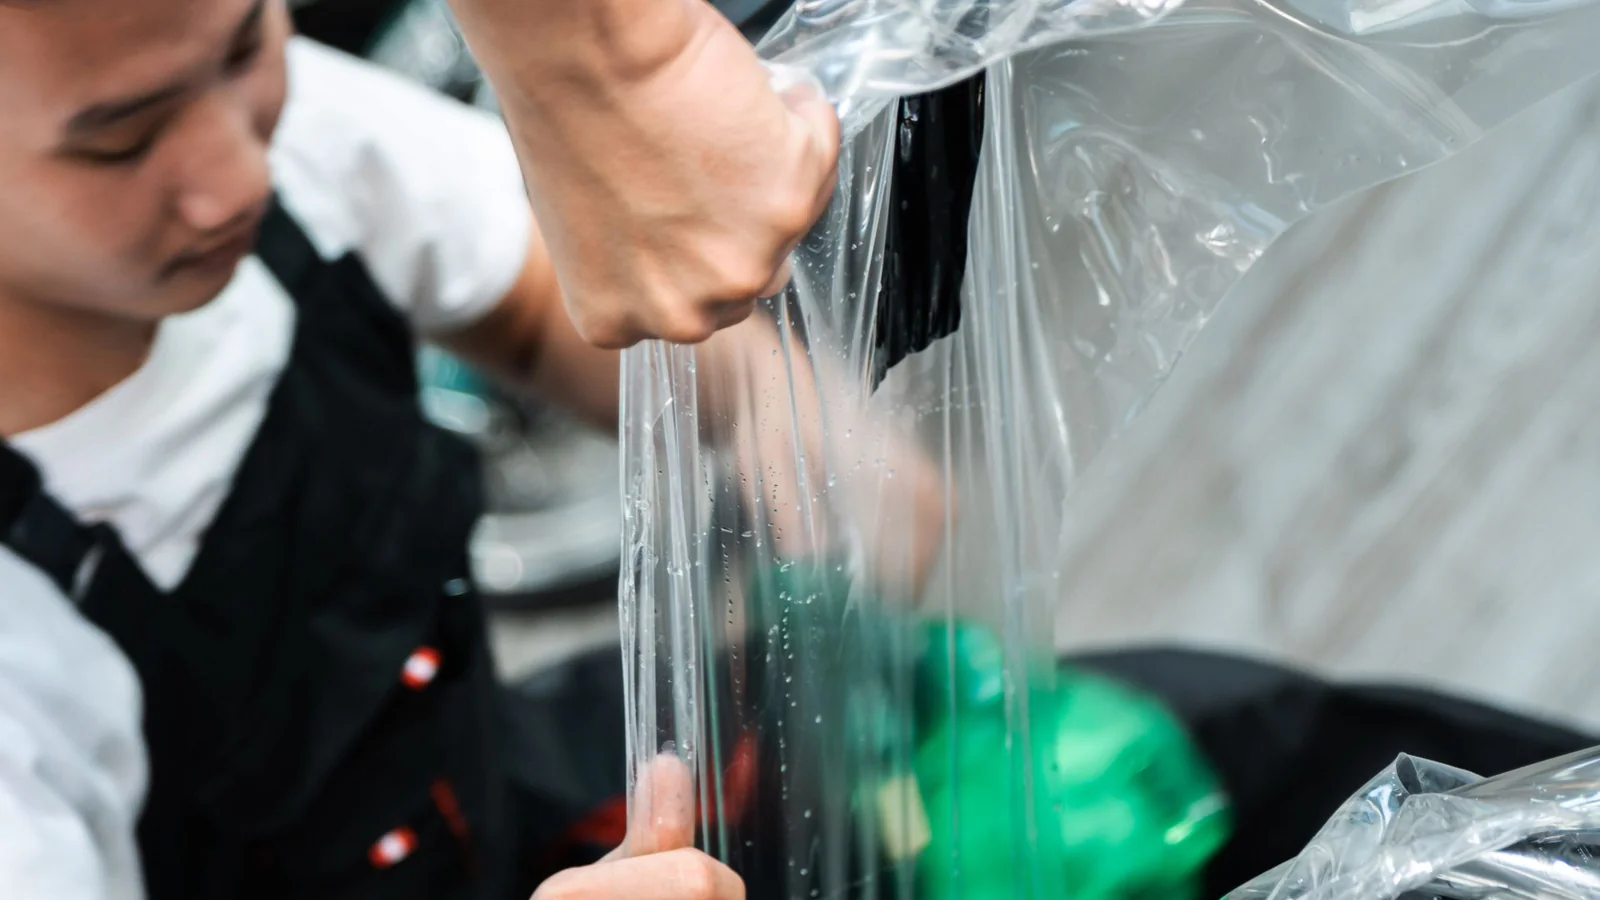
Let’s be honest—nothing hurts quite like spotting that first rock chip on your brand-new hood. You wash your car religiously, you park far away from shopping carts, and yet, somehow, the road always finds a way to leave its mark. That’s exactly why more and more car owners are turning to paint protection film (PPF) to keep their vehicles looking showroom-fresh for years.
Whether you’re a weekend warrior looking to tackle a DIY project or a professional installer aiming to refine your technique, knowing how to properly install paint protection film is the difference between a flawless finish and a frustrating disaster. In this comprehensive guide, we’ll walk you through everything you need to know—from surface preparation to the final squeegee pass—so you can protect your investment with confidence.
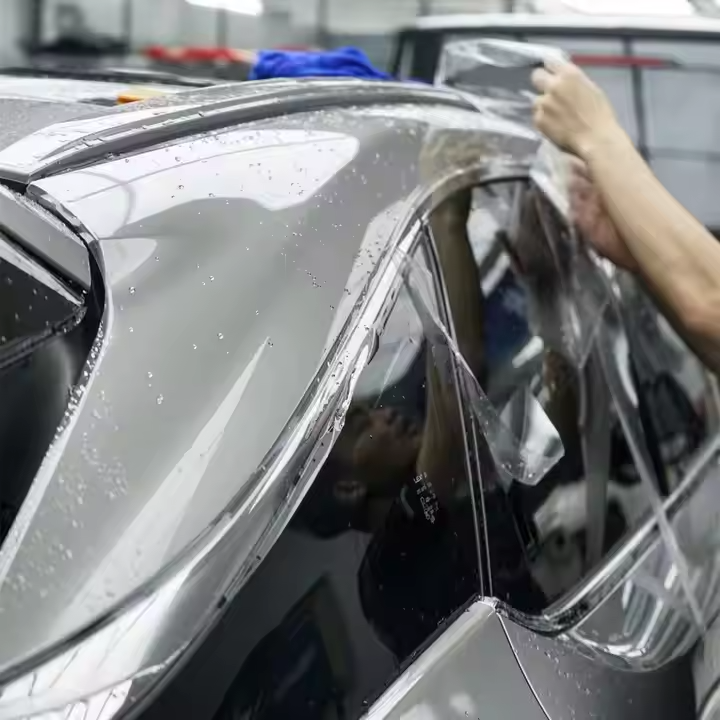
Table of Contents
Why Paint Protection Film Matters More Than Ever
The automotive paint protection film market is booming, and for good reason. With rock chips, road debris, UV damage, and environmental contaminants constantly threatening your vehicle’s paint, PPF has become the gold standard for preservation.
Here’s the reality: your car’s paint is vulnerable from the moment it leaves the dealership. Highway driving kicks up gravel. Parking lots invite door dings. Bird droppings and tree sap can etch into your clear coat within hours. Paint protection film creates an invisible, durable barrier that takes the abuse so your paint doesn’t have to.
And here’s something that might surprise you: industry surveys show that vehicles with PPF can retain up to 15% more of their resale value. Dealership decision-makers overwhelmingly agree that PPF contributes to stronger resale pricing and customer satisfaction. In other words, installing paint protection film isn’t just about peace of mind—it’s a smart financial decision.
Modern PPF also features self-healing technology, which means minor scratches and swirl marks actually disappear when exposed to heat from sunlight, warm water, or a heat gun. The top layer contains elastomeric polymers that rearrange themselves when disturbed, restoring the film to its original smooth condition. It’s pretty remarkable stuff.
Before You Start: What You’ll Need to Install Paint Protection Film
A successful installation starts with having the right tools and the right mindset. Here’s what you’ll need:
Essential Tools:
Paint protection film (pre-cut kit for your vehicle or bulk roll)
Slip solution (distilled water with a few drops of baby shampoo or dedicated PPF slip agent)
Tack solution (70% isopropyl alcohol mixed with water for edges and curves)
Spray bottles (one for slip, one for tack)
Squeegee with a soft edge
Microfiber towels (plenty of them)
Heat gun or hair dryer
Clay bar and lubricant
Isopropyl alcohol for final surface cleaning
Sharp utility knife or precision cutting tool (if using bulk film)
Measuring tape
The Workspace Matters Too. Choose a well-lit, clean, and dust-free environment. Ideally, you want a controlled space where you can close the doors and minimize airflow that might carry dust particles onto your freshly cleaned surface. Temperature matters as well—aim for a cool, dry day with surface temperatures between 60-80°F (15-27°C) for optimal adhesion and film flexibility.
Step-by-Step Guide: How to Install Paint Protection Film
Step 1: Wash and Decontaminate the Surface
Cleanliness isn’t just important—it’s everything. Any dust, dirt, grease, or leftover wax left on the paint will be permanently trapped under the film, creating visible imperfections and potentially causing adhesion failure down the road.
Start by washing the entire vehicle thoroughly with a pH-balanced automotive shampoo and a microfiber wash mitt. Pay special attention to the areas where you’ll be applying the film. Rinse completely and dry with clean microfiber towels.
Next, use a clay bar with lubricant to remove embedded contaminants like tree sap, tar, and industrial fallout that regular washing can’t touch. This step is non-negotiable if you want a smooth, flawless finish.
Finally, wipe down the surface with isopropyl alcohol to degrease and remove any remaining waxes or sealants. The surface should be completely clean and free of any residue before the film touches it.
Step 2: Paint Correction (If Needed)
Here’s a hard truth: paint protection film locks in whatever’s underneath it. If your paint has swirl marks, scratches, or chips, those imperfections will still be visible through the clear film. That’s why many professional installers perform paint correction before applying PPF.
If your vehicle’s paint isn’t in perfect condition, consider using a dual-action polisher with fine-grit polish to remove swirls and scratches before you install paint protection film. This extra step ensures your final result looks flawless.
Step 3: Mix Your Solutions
You’ll be working with two different solutions during the installation:
Slip Solution: This allows the film to slide around during positioning. Mix about 3-4 drops of baby shampoo (or a dedicated PPF slip agent) into a 16-ounce spray bottle of distilled water. Do not add alcohol to your slip solution—it’s meant to keep things slippery, not sticky.
Tack Solution: This helps the film grip once it’s in the right position. A common formula is a 50/50 mix of 70% isopropyl alcohol and distilled water. You’ll use this primarily around edges and curves to lock the film down.
Label your spray bottles clearly to avoid mix-ups during the install.
Step 4: Cut and Prepare the Film
If you’re using a pre-cut PPF kit specific to your vehicle’s make and model, this step is much simpler. For bulk film, you’ll need to measure each panel carefully and cut the film to size, leaving a slight margin around the edges for complete coverage.
When handling the film, spray your hands with slip solution to avoid leaving fingerprints on the adhesive side.
Step 5: Position the Film
This is where patience really pays off. Peel back the protective backing from the PPF and spray the adhesive side generously with slip solution. Spray the vehicle panel with slip solution as well.
Carefully place the film on the panel, adhesive side down. You should be able to slide it into position easily thanks to the slip solution. Take your time here—once the film starts to tack, repositioning becomes much more difficult.
Pro tip: Start with flat, easier areas like the hood or door panels if you’re new to this. Save the complex curves of bumpers and mirrors for when you’ve built up some confidence.
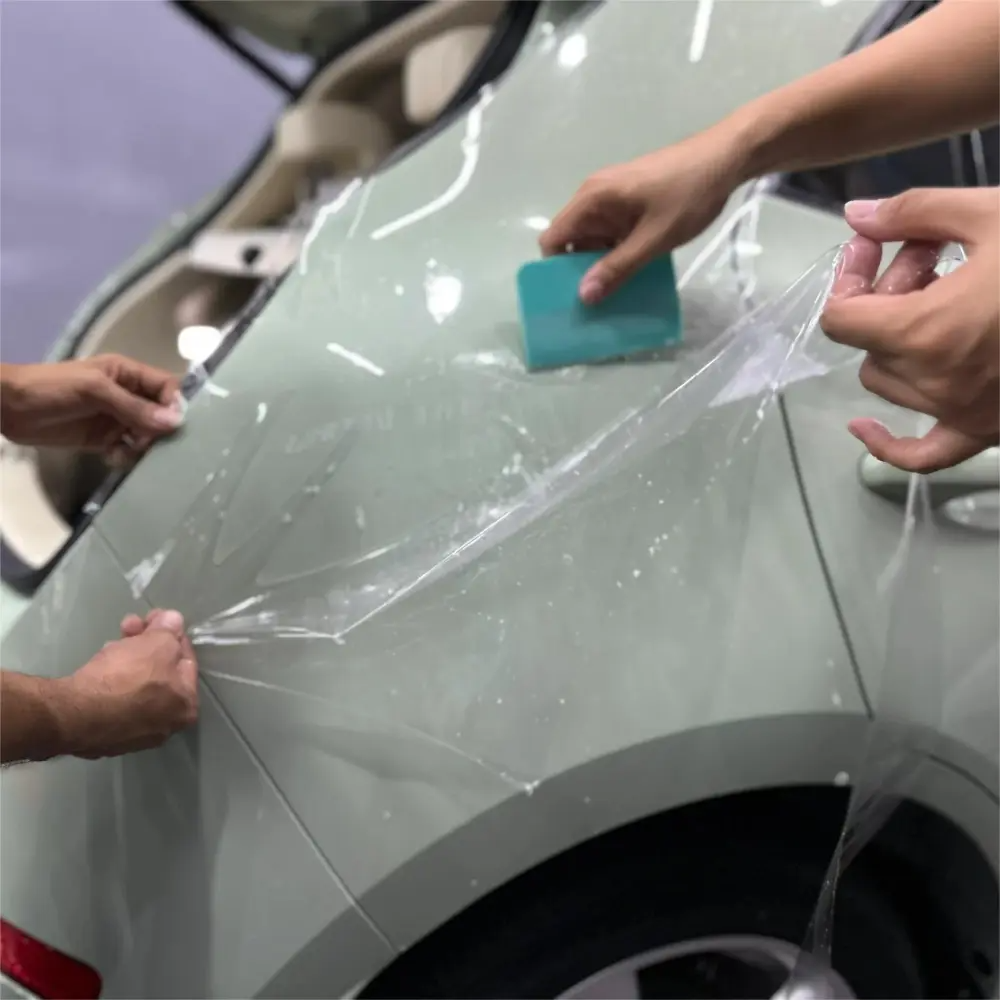
Step 6: Squeegee Out the Solution
Once the film is perfectly aligned, it’s time to remove the slip solution and get the film to adhere. Use a squeegee at approximately a 45-degree angle to the surface.
Start at the center of the panel and work your way outward toward the edges, using overlapping strokes to push out the slip solution and any trapped air. Use even, consistent pressure—don’t press too hard, or you risk shifting the film.
Keep the squeegee and film surface wet with application solution during this process to reduce friction and prevent scratches.
Step 7: Tackle Curves and Edges
This is where professional installation really separates itself from amateur attempts. Curved areas like bumpers, headlights, and mirrors require careful technique.
Use your heat gun on a low setting to gently warm the film, making it more pliable and easier to conform to complex shapes. Be careful not to overheat—the film should be warm and stretchy, not hot and melting.
For sharp edges and contours, installers often stretch the film slightly past the apex of the curve, then tack it down at multiple points before working the remaining material into position. A key rule: don’t stretch the film beyond 10-15% of its original size, as this can cause the adhesive to weaken and the film to lose integrity.
Use tack solution around edges and curves to help the film grip and conform. Tuck the edges of the film around panel seams for a clean, virtually invisible finish.
Step 8: Final Inspection and Finishing Touches
After the film is applied to all panels, carefully inspect every inch. Look for:
Air bubbles or trapped moisture
Wrinkles or “fingers” (those little creases that form on curves)
Lifted edges
Any debris trapped under the film
If you find bubbles, use a soft squeegee to gently push them toward the edges. For wrinkles, gently lift and reapply the film rather than trying to force it flat, which can cause stretching or tearing.
Trim any excess film with a precision cutting tool for clean, finished edges.
Step 9: Let the Film Cure
This is the hardest part—waiting. Paint protection film typically takes 24 to 48 hours to cure. During this time:
Do not wash the vehicle
Avoid exposing the film to high-pressure water
Keep the vehicle out of extreme weather conditions
Be patient—the film is bonding to your paint
Full curing can take up to a week, so treat your newly protected vehicle with extra care during this period.
Common Mistakes to Avoid When You Install Paint Protection Film
Even experienced DIYers make mistakes. Here are the most common pitfalls and how to avoid them:
Mistake #1: Skipping Surface Preparation. This is the number one cause of PPF installation failure. Even minor dust or oil can prevent proper adhesion. Clean thoroughly, clay bar, and degrease. Every. Single. Time.
Mistake #2: Improper Alignment. Misaligned film leads to gaps or overhangs that trap dirt and moisture. Use alignment markers or masking tape as guides, and double-check positioning before securing each section.
Mistake #3: Not Using Enough Slip Solution. When the film sticks too quickly, you lose the ability to reposition, and bubbles get trapped. Spray generously on both the film and the surface.
Mistake #4: Rushing the Process. PPF installation takes time—often several days for a full vehicle. Rushing leads to mistakes that compromise the longevity of the film. Work section by section and take breaks when needed.
Mistake #5: Neglecting Edge Sealing. Unsealed edges are vulnerable to lifting and contamination. Always tuck and seal edges properly, especially on complex curves.
Pro Tips for a Flawless PPF Installation
Want results that look like they came from a professional shop? Keep these tips in mind:
Work in a Controlled Environment. A dust-free installation space is critical. Close doors, turn off fans and HVAC systems that might blow dust around, and minimize foot traffic.
Use the Right Lighting. Good lighting helps you spot bubbles, debris, or imperfections before the film is fully adhered.
Maintain a Wet Adhesive Surface. Throughout application, keep the adhesive side wet. This enhances repositioning flexibility and reduces the risk of visible lines.
Two Installers Are Better Than One. On larger body parts, having a second person helps manage the film and reduces the risk of mistakes.
Don’t Overstretch. Film stretched beyond 10-15% of its original size loses integrity. Stretch just enough to conform, and no more.
Aftercare: Keeping Your PPF in Pristine Condition
Once you’ve successfully installed paint protection film, proper maintenance ensures it lasts. Here’s what you need to know:
Wait at least 7 days before your first wash to allow the film to fully cure
Wash by hand using a pH-balanced automotive shampoo and a soft microfiber wash mitt—avoid automatic car washes with brushes
Dry thoroughly with clean microfiber towels after washing
Address contaminants promptly—bird droppings, bug splatter, and tree sap should be removed quickly to prevent staining
Avoid waxing or sealing the PPF—it doesn’t need it and some products can actually damage the film
Inspect periodically for any signs of lifting, peeling, or damage
Frequently Asked Questions About Paint Protection Film Installation
Q: Can I install paint protection film myself, or should I hire a professional?
A: It depends on your skill level, patience, and the complexity of the job. Small, flat areas like door sills or headlights are DIY-friendly. Full hoods, bumpers, and entire vehicles require significant skill and experience. Many first-time DIY attempts on major panels fail and require professional intervention. If you’re unsure, start small or consult a professional.
Q: How long does it take to install paint protection film on a full vehicle?
A: Professional installations typically take 3 to 7 days depending on coverage level and vehicle complexity. DIY installations often take longer, especially for first-timers.
Q: Will paint protection film change the color of my car?
A: No. High-quality PPF is optically clear and virtually invisible when properly installed. It preserves your vehicle’s original color and finish while adding a layer of protection.
Q: Can paint protection film be removed without damaging the paint?
A: Yes, when installed correctly and removed properly by a professional. The film should be lifted at a 45-degree angle and pulled towards yourself—never folded over on itself or ripped off aggressively.
Q: How does self-healing PPF work?
A: The top layer of premium PPF contains elastomeric polymers that aren’t fixed in a rigid lattice. When the film is scratched, heat (from sunlight, warm water, or a heat gun) allows these polymer chains to rearrange themselves back to their original state, effectively “healing” the scratch.
Q: What’s the difference between slip solution and tack solution?
A: Slip solution keeps things slippery so you can position the film easily. Tack solution (with more alcohol) makes the film grip once it’s in the right position, especially useful around edges and curves.
Q: Is paint protection film worth the investment?
A: Absolutely. Beyond the obvious protection against rock chips, scratches, and environmental damage, PPF helps preserve your vehicle’s resale value. It also saves money on future paint correction or repainting.
Why Choose Decowell Paint Protection Film
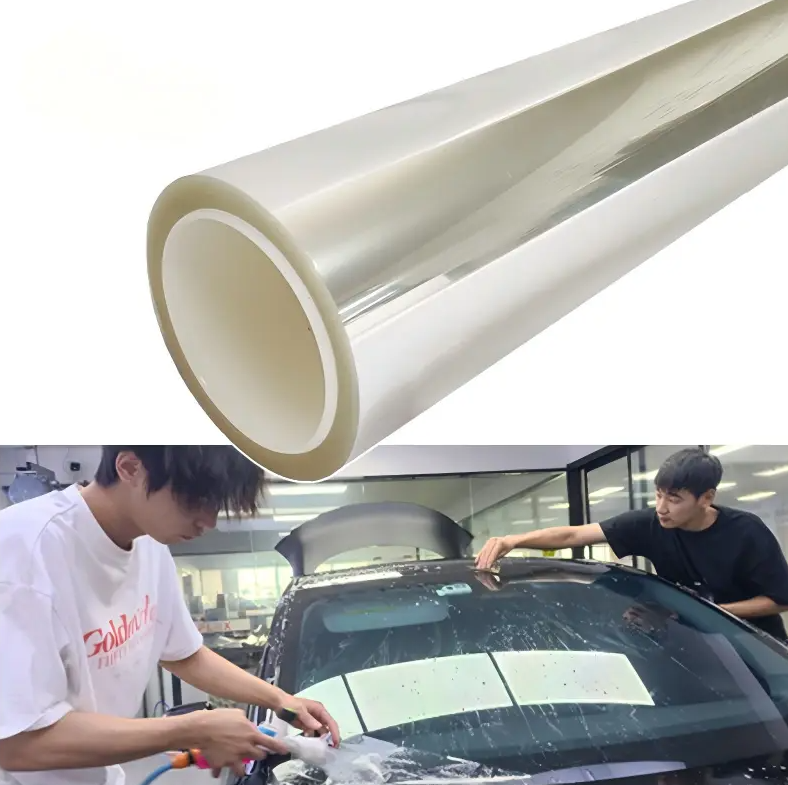
When it comes to protecting your vehicle’s paint, the quality of the film matters just as much as the installation technique. Decowell offers premium paint protection films engineered for durability, clarity, and performance.
Decowell films are designed with advanced self-healing properties that allow minor scratches and swirl marks to disappear with heat exposure—whether from sunlight, warm water, or a heat gun. This means your vehicle maintains its showroom shine longer, with less maintenance required.
The films are formulated with UV inhibitors that prevent yellowing and fading over time, preserving your paint’s vibrant color for years to come. And because Decowell films are optically clear, they’re virtually invisible once installed—you get all the protection without compromising your vehicle’s aesthetics.
Whether you’re protecting a daily driver, a weekend toy, or a collector’s piece, Decowell paint protection film delivers the quality and reliability you need. The film’s flexibility allows it to conform to complex curves and contours, making installation smoother and reducing the risk of common issues like lifting or bubbling.
Ready to Protect Your Vehicle?
Installing paint protection film is one of the smartest investments you can make in your vehicle. It shields your paint from the daily assault of rock chips, road debris, UV rays, and environmental contaminants. It preserves your car’s appearance and resale value. And with modern self-healing technology, it keeps looking great with minimal effort.
Whether you’re tackling a DIY installation or working with a professional, the key to success is preparation, patience, and using high-quality materials. Decowell paint protection film gives you the foundation you need for a flawless finish that lasts.
Ready to get started? Contact Decowell today to learn more about our paint protection film solutions. Whether you need film for a full vehicle wrap or targeted protection for high-impact areas, we have the products and expertise to help you achieve professional results.
Protect your investment. Preserve your paint. Choose Decowell.