Home » How to Install Paint Protection Film Like a Pro: A No-Nonsense Step-by-Step Guide
Recent Posts
How to Install Paint Protection Film Like a Pro: A No-Nonsense Step-by-Step Guide
Let’s be honest. A rock chip on a brand-new hood feels like someone just keyed your soul. That’s precisely why paint protection film—or PPF, as most of us call it—has become one of the smartest investments you can make for your car.
But here’s the thing. You can buy the best PPF on the market, but if the installation is sloppy, you’ll end up with bubbles, lifted edges, and a finish that looks worse than the scratches you were trying to avoid. So whether you’re tackling this yourself or just want to know what a good install looks like before handing your keys to someone else, this guide covers everything you need. Let’s get into it.
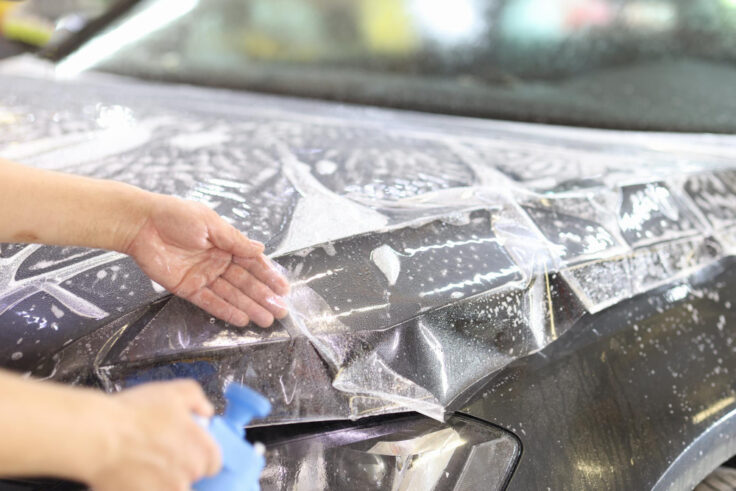
Table of Contents
What Is Paint Protection Film, Really?
At its core, paint protection film is a transparent, durable urethane layer applied directly onto your car’s painted surfaces. It acts as a sacrificial barrier—taking the hit from road debris, stone chips, bug splatter, and bird droppings so your actual paint doesn’t have to. Modern PPF is made from thermoplastic polyurethane (TPU), a material that’s both flexible enough to wrap around complex curves and tough enough to shrug off impacts that would otherwise leave permanent marks.
The real magic, though, is self-healing technology. Premium PPF contains elastomeric polymers in its top coat. These polymer chains aren’t locked into a rigid lattice—they’re arranged loosely, which means when heat (from the sun, a heat gun, or warm water) is applied, the material softens and the chains realign, effectively erasing minor scratches and swirl marks. That’s not marketing hype—that’s thermodynamics at work.
Why Bother with PPF? Here’s What You Actually Get
Beyond just preventing chips and scratches, quality PPF offers real value. It blocks up to 85% of harmful UV rays, keeping your paint from fading and oxidizing over time. It resists stains from tree sap, bird droppings, and bug splatter, making cleanup dramatically easier. The glossy finish stays vibrant, and if you ever decide to sell, a clean, chip-free front end adds real dollars to your resale value.
Now, let’s be clear. PPF won’t stop a shopping cart from denting your door. It won’t make your car invincible. But for everyday driving—highway commutes, gravel roads, tight parking lots—it’s the most effective protection you can get. Period.
The Golden Rule: Surface Prep Matters More Than Anything
Here’s something I’ve learned the hard way. A successful PPF installation is about 70% preparation and 30% application. If your paint isn’t flawless going in, the film will lock in every imperfection underneath.
Start in a clean, well-lit garage—ideally a dust-free space with stable temperature around 65–70°F. Turn off any air conditioning or heating blowers that could stir up dust. This isn’t something you want to attempt in a dusty driveway on a windy afternoon.
First, wash the car thoroughly with automotive shampoo and a soft microfiber mitt. Rinse completely. Then take it a step further. Use a clay bar or clay mitt with lubricant to remove embedded contaminants that regular washing misses—tar spots, tree sap residue, industrial fallout. You want the surface to feel smooth like glass when you run your hand across it.
Once that’s done, dry the vehicle completely. Then do a final wipe-down with an isopropyl alcohol solution—roughly 10–25% IPA mixed with distilled water—to strip away any remaining waxes, silicones, or polishing oils. No shortcuts here. A single speck of dust trapped underneath will show up as an ugly bump for the life of the film.
Gather Your Tools Before You Start
You don’t need a professional shop full of equipment, but you do need the right stuff. Here’s your checklist.
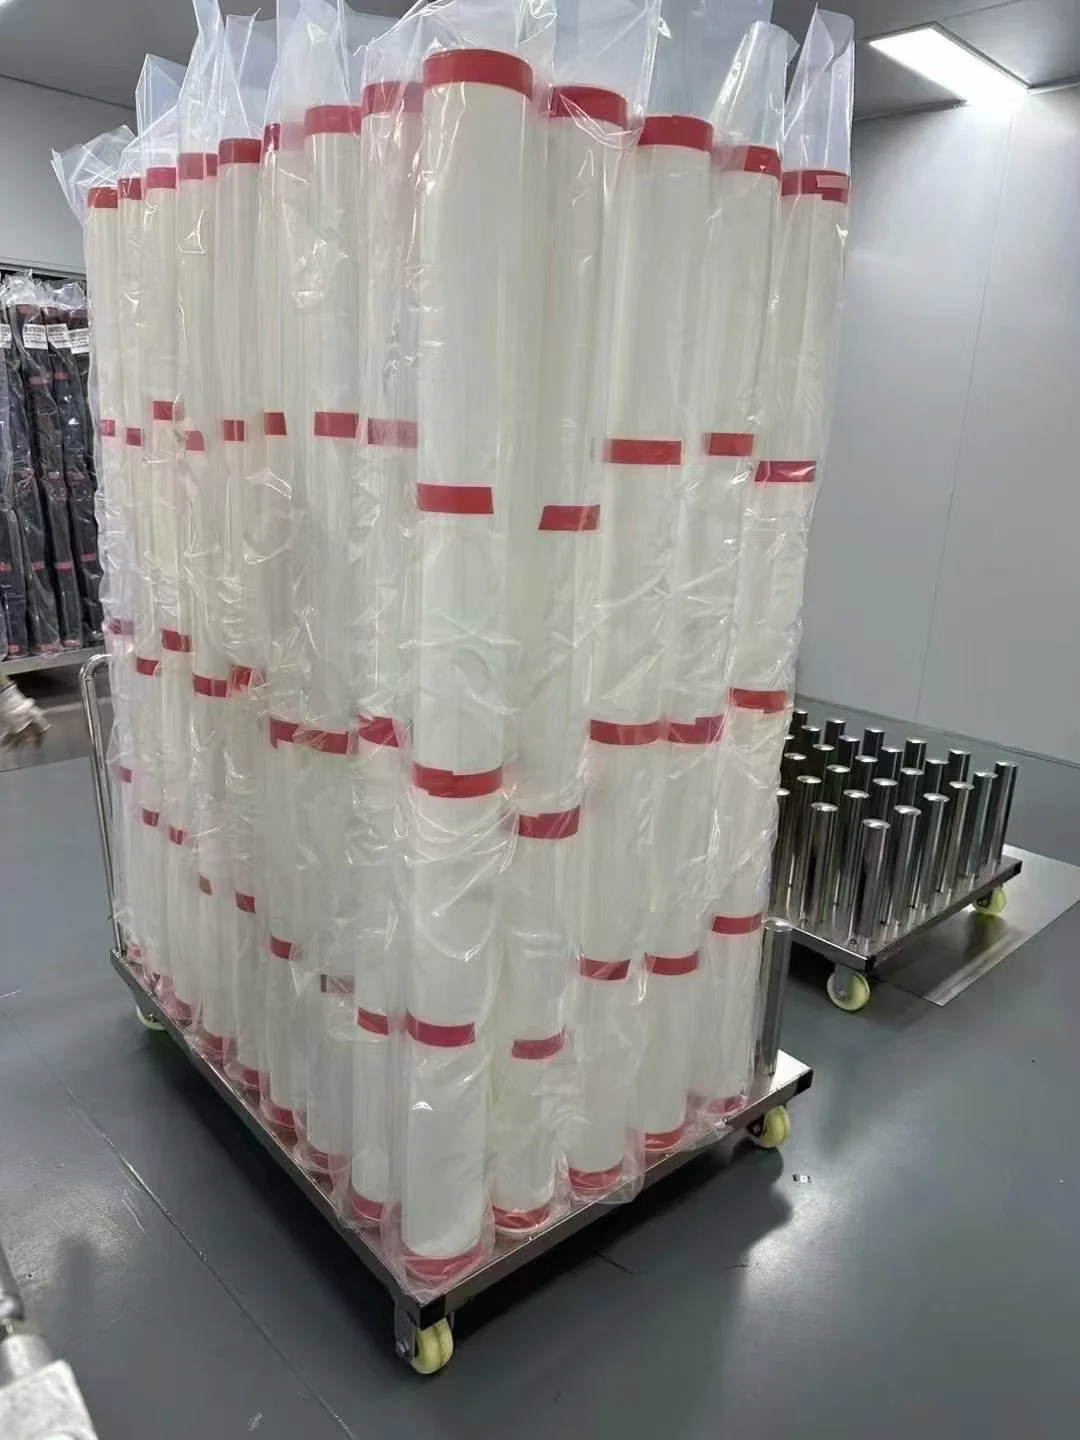
Decowell premium paint protection film
Two spray bottles—one for slip solution, one for tack solution
Distilled water (don’t use tap water—minerals cause spots)
Baby shampoo (non-detergent) or a slip solution concentrate
70% or 99% isopropyl alcohol
A few different squeegees—a soft felt squeegee and a smaller, firmer one for edges
A sharp trimming knife with fresh blades
Microfiber towels—plenty of them
A heat gun or high-quality hairdryer
An air release pen or fine needle
Mixing Your Solutions: Slip vs. Tack
This part trips up a lot of first-timers. You need two different solutions.
Slip solution is what allows you to position the film freely before it grabs. Mix roughly two to three drops of baby shampoo per liter of distilled water. The mixture should sheet off the film with minimal froth—too much soap and your adhesive won’t bond properly.
Tack solution is what locks the film down once you’ve got it in position. Mix about 10% isopropyl alcohol with 90% distilled water for a mild tack. If you’re working in colder conditions, you can bump the alcohol up to around 25%.
Keep both bottles labeled and close at hand. You’ll switch between them constantly throughout the install.
Step-by-Step Installation: How to Apply Paint Protection Film
Step 1: Flood the Panel and the Film
Spray slip solution generously onto the panel you’re about to cover. Then peel the release liner off your pre-cut or bulk Decowell PPF, and immediately spray the adhesive side with slip solution as well. This prevents the film from folding onto itself—trust me, unsticking folded PPF is not fun.
Step 2: Lay It Down and Align
Place the wet-side-down film onto the wet panel. Because you’ve flooded both surfaces, the film should slide easily. Now’s your chance to center it perfectly, making sure it covers the entire area with a little overhang for edge wrapping. Take your time here. Once you introduce tack solution, repositioning becomes much harder.
Step 3: Create Tack Points at the Corners
Lift one corner of the film, spray a small amount of tack solution underneath, and press it down firmly. Repeat for the other corners. This locks the film in place and prevents it from shifting while you work the middle.
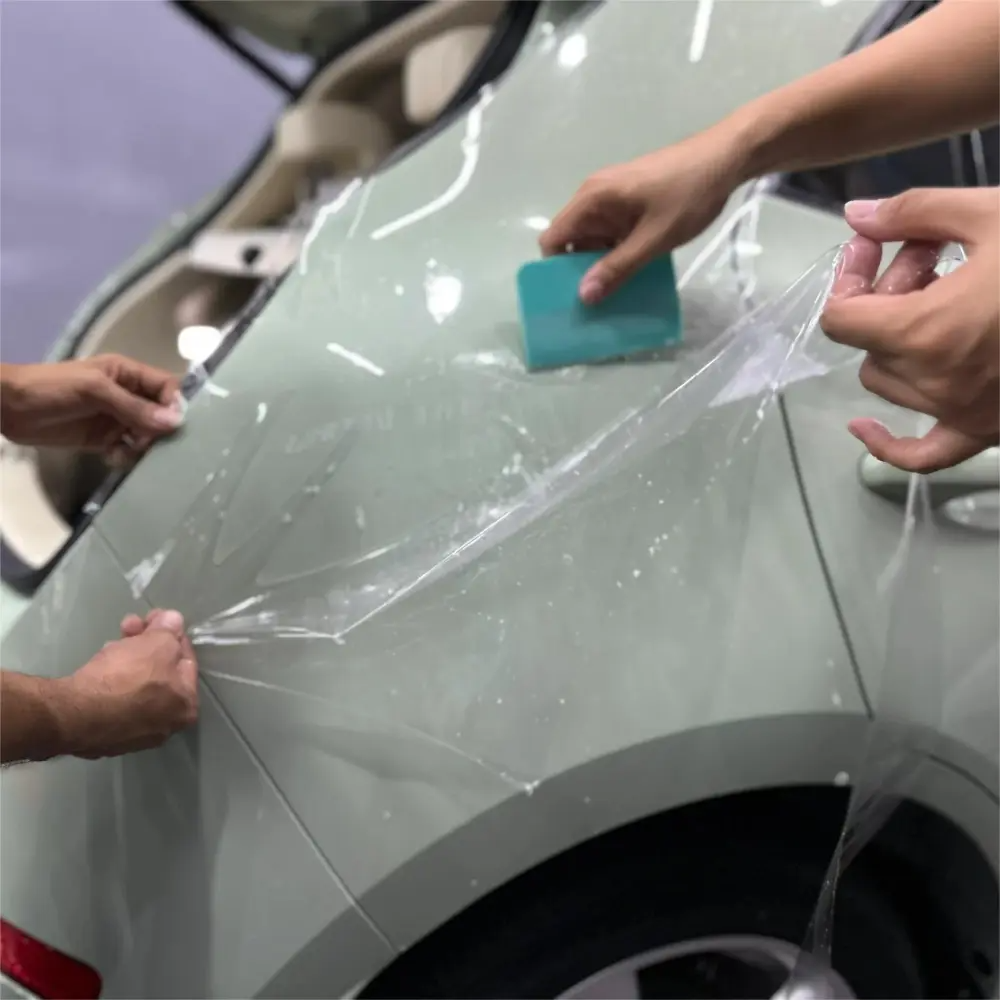
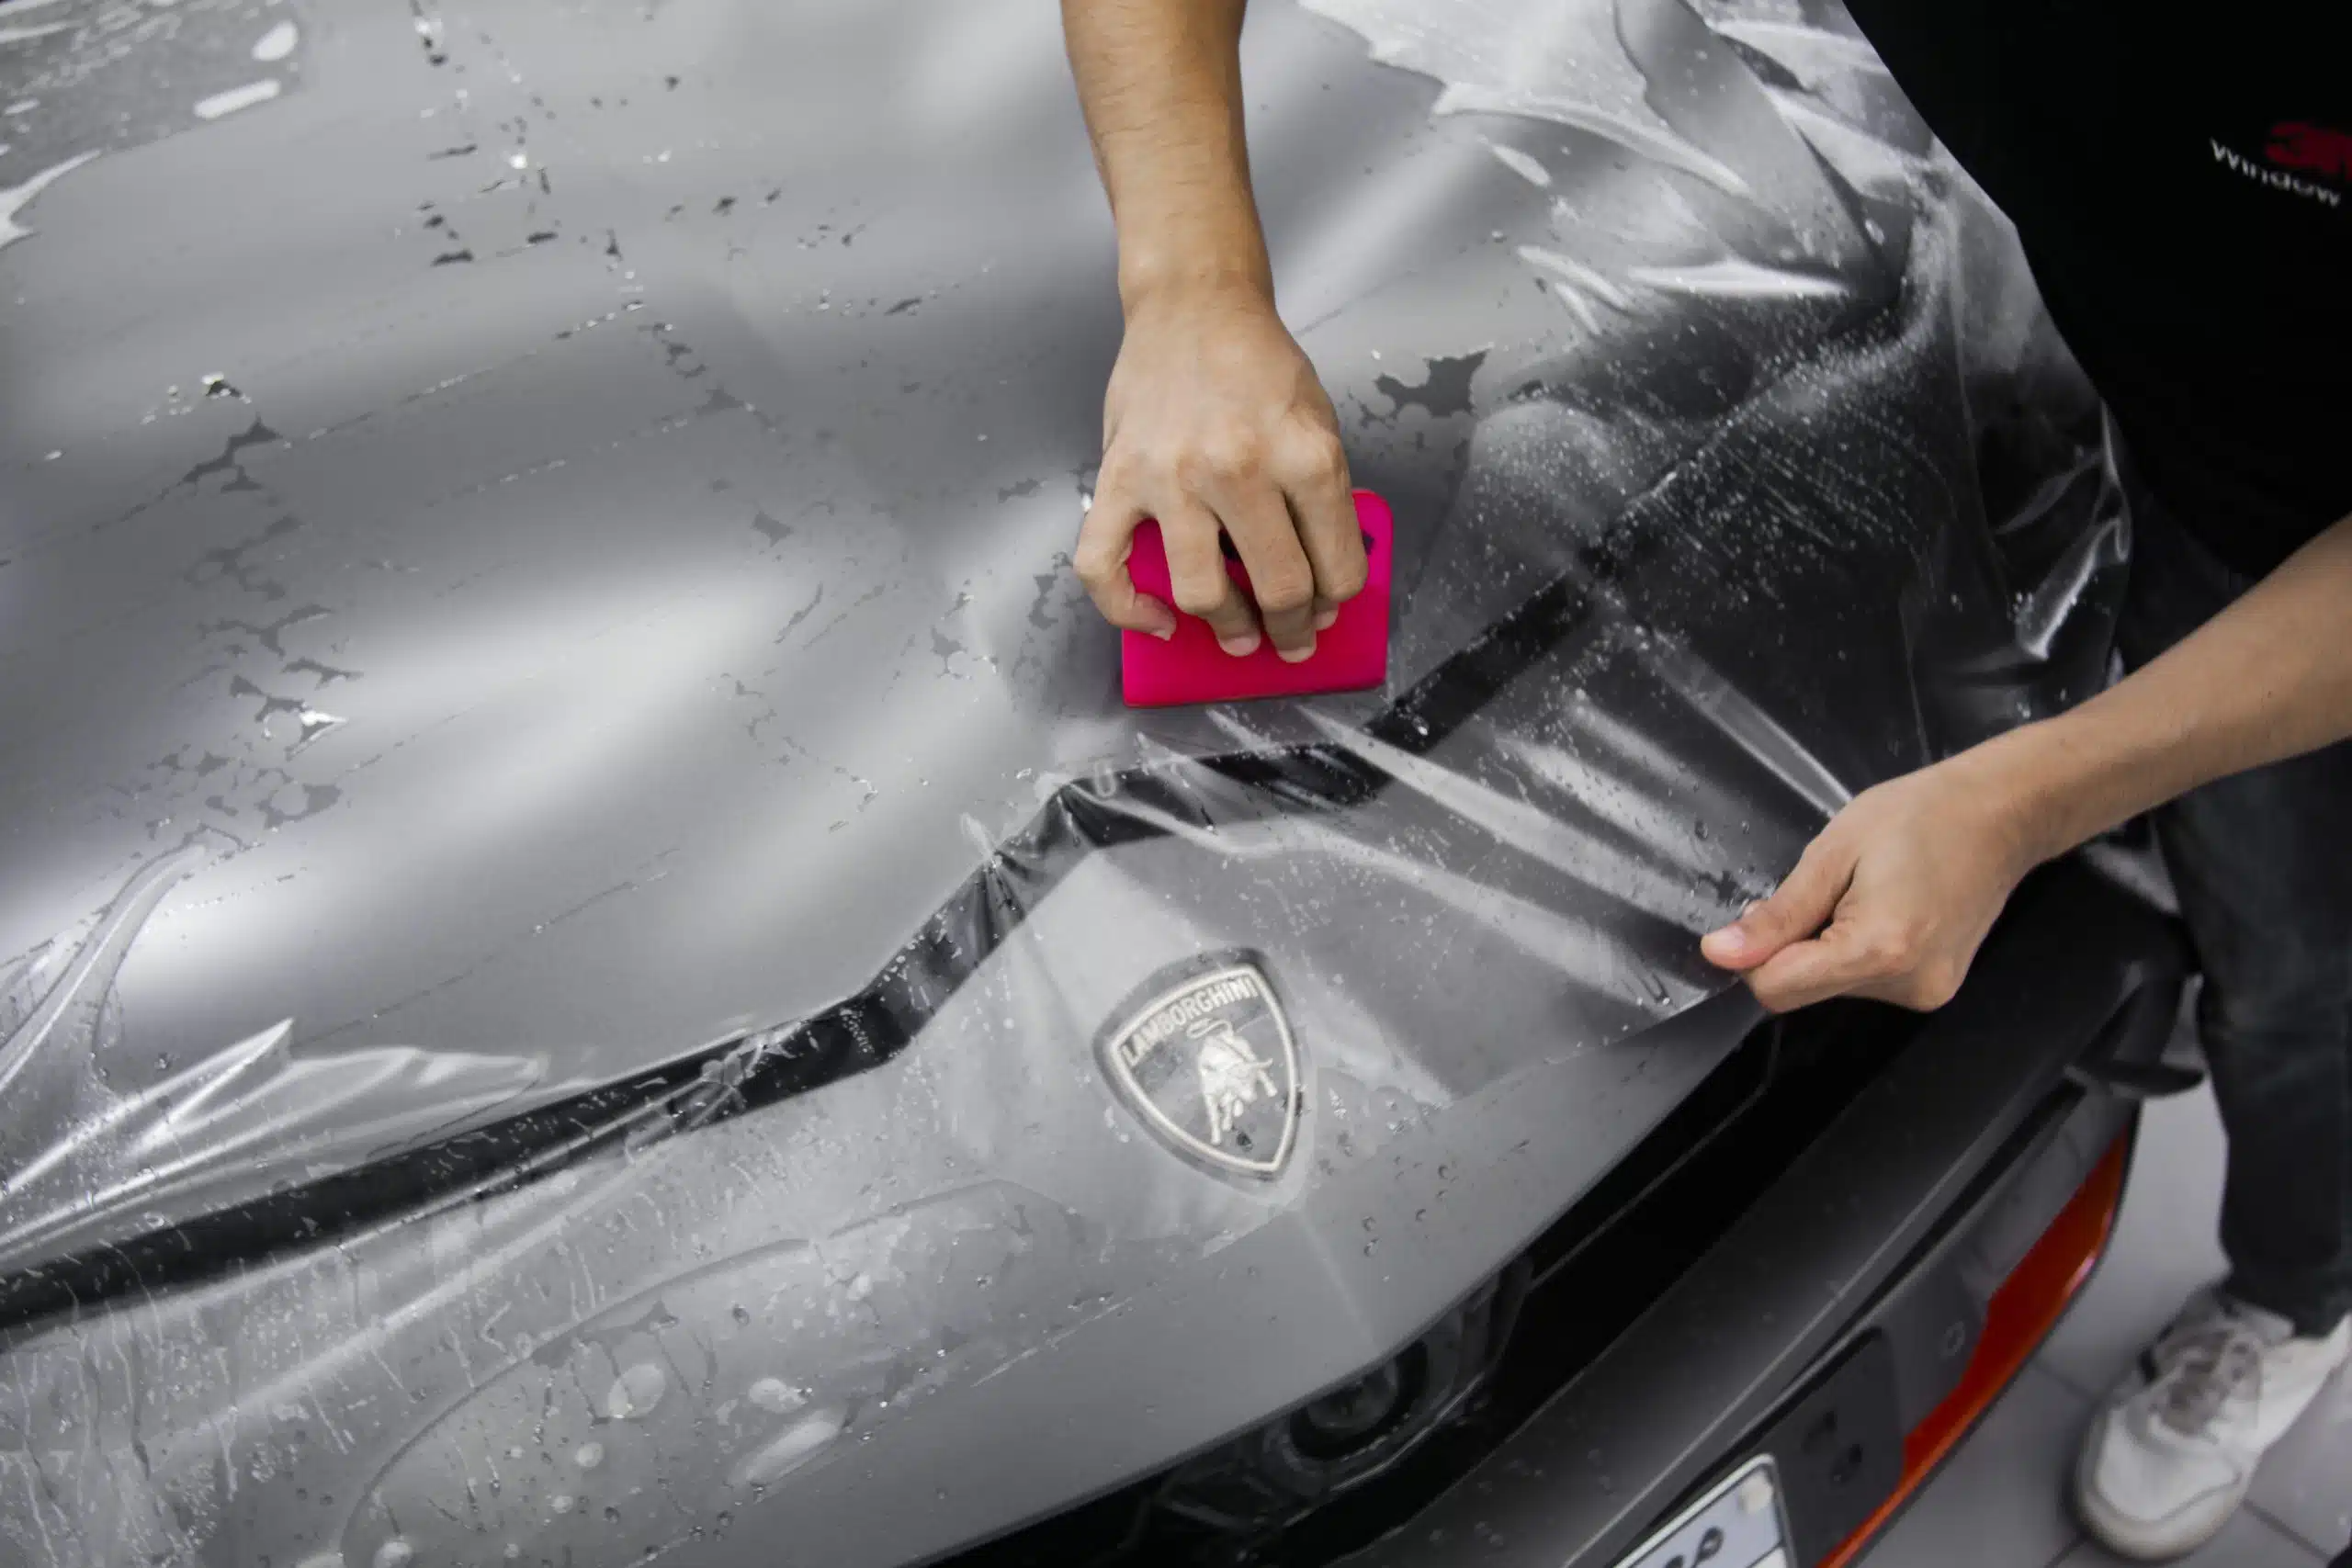
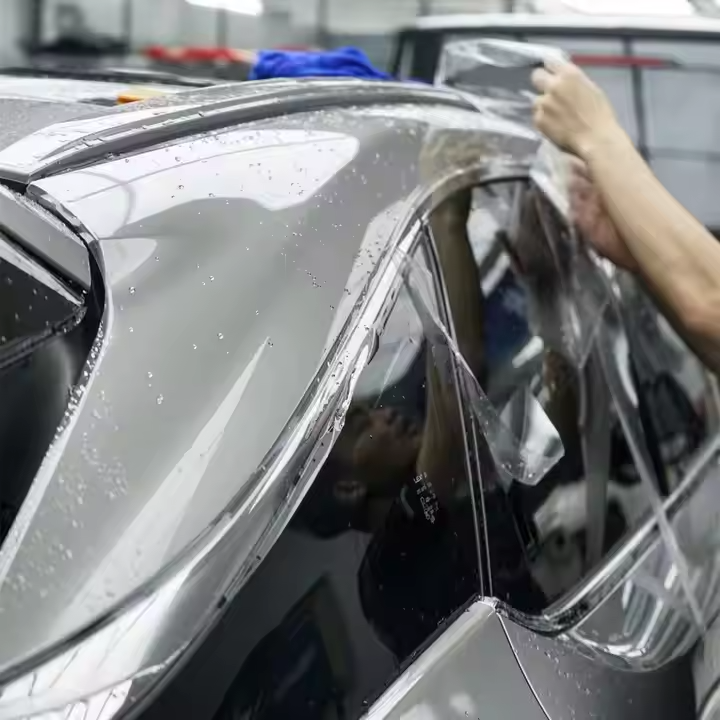
Step 4: Squeegee from Center Out
Start at the middle of the panel and work outward in overlapping strokes. Hold your squeegee at roughly a 45° angle and use even, firm pressure—not so hard that you stretch the film, but enough to push the slip solution toward the edges. Keep the top surface of the film moist with slip solution to reduce friction and prevent scratching. If you encounter a stubborn bubble, don’t panic. Work around it and come back. You can also spray a bit more slip solution underneath to float it out.
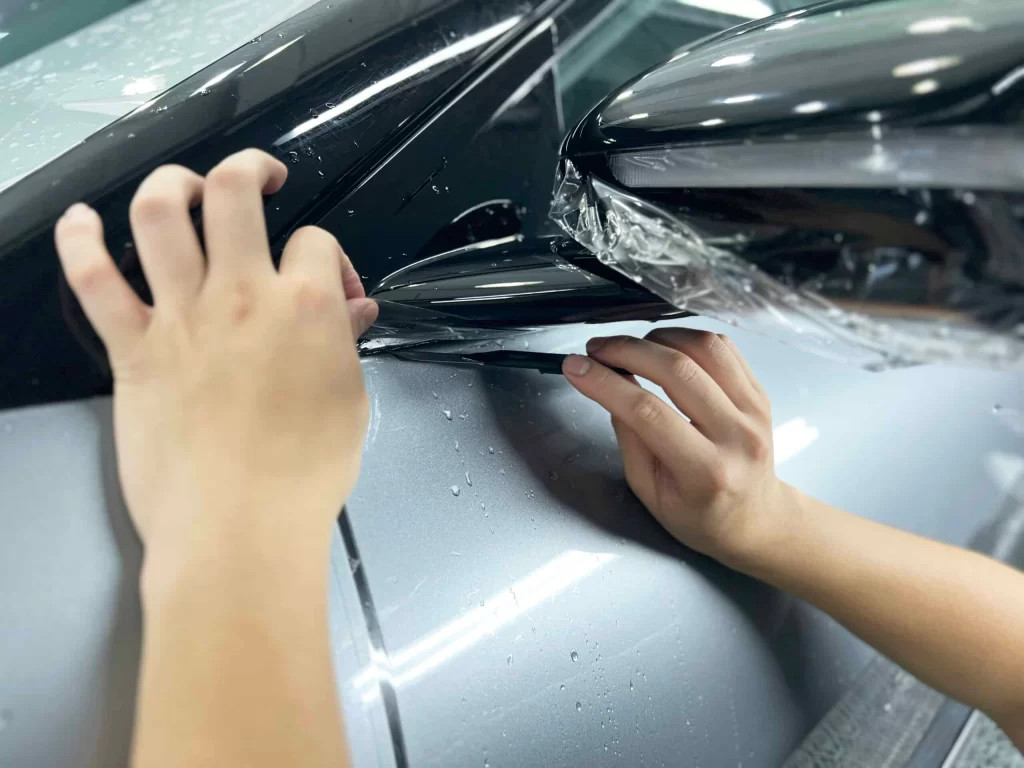
Step 5: Manage Curves and Contours
For curved panels or recessed areas, you’ll likely need some heat. Use your heat gun on a low setting to soften the PPF, then gently stretch it to conform to the shape. Decowell’s TPU material has natural elasticity, which makes this process smoother than cheaper films, but still—gentle tension, not aggressive pulling. If you overstretch, the film may shrink back later.
Step 6: Trim and Wrap Edges
Once the film is down smooth, trim any excess material with a sharp knife, leaving about an eighth to a quarter inch for wrapping. Spray tack solution along the edge, then fold the film around the panel’s edge and squeegee it down firmly. Wrapped edges look clean, stay protected, and won’t collect dirt like raw-cut edges do.
Step 7: Banish Small Bubbles
A few small air or moisture bubbles may still be visible—especially right after installation. For tiny bubbles, use an air release pen or a fine needle to puncture them, then press the moisture out flat. The hole will self-heal within a day or two, especially with a little heat from the sun. Don’t go stabbing large bubbles—those you need to lift and re-squeegee.
Aftercare: Let It Cure, Then Keep It Clean
This is where patience pays off. After installation, leave the vehicle untouched for at least 48 hours to allow the adhesive to fully cure. You might see some hazing or water trapped underneath during this period—that’s completely normal. It’ll evaporate over the next few days to a couple of weeks, depending on temperature and humidity.
For the first week, don’t wash the car. Don’t use high-pressure sprayers near the edges. Once the film is fully set, hand wash with a pH-balanced automotive shampoo and a soft microfiber mitt. Avoid automatic car washes with abrasive brushes—they can scratch the film, and while self-healing covers minor swirls, deep gouges won’t disappear.
Spot clean bird droppings or bug splatters promptly. These acidic contaminants can etch into the film if left sitting. A gentle wipe with damp microfiber and a dedicated PPF-safe cleaner is all you need.
Can You DIY PPF, or Should You Hire a Pro?
The honest answer? It depends on your expectations and your patience.
DIY PPF has come a long way. With pre-cut templates, better film technology, and detailed guides, enthusiasts can absolutely achieve great results on simpler panels like hoods, roofs, or door cups. A beginner can typically handle a single panel in two to four hours. A full front end might take eight to twelve hours stretched across multiple sessions.
But if you’re considering a full vehicle wrap, or if your car has extremely complex curves and sharp edges, professional installation might be worth the investment. Pros work in climate-controlled clean rooms, have years of experience handling tight bumpers and side mirrors, and can deliver edge-to-edge coverage with no visible seams. That said, if you take your time, follow the steps above, and use quality material like Decowell, DIY is absolutely doable for most vehicle sections.
Common Mistakes to Avoid
Skipping the clay bar step. This is non-negotiable. Invisible contaminants will show up as bumps under the film, and you’ll regret every one of them.
Working in a dusty environment. No matter how careful you are, airborne dust will find its way onto your adhesive side if you’re working in a garage with open doors, pets, or high traffic. Keep the space clean and limit movement.
Using too much pressure while squeegeeing. Pushing too hard can stretch the film, create creases, or even damage the top coat. Let the solution do the work. Light to medium pressure, overlapping strokes.
Washing the car too soon. I know you want to see it clean and shiny. But touching the film before the adhesive fully sets risks lifting edges and trapping moisture. Wait at least 48 hours. Ideally a full week.
Forgetting about UV protection and self-healing. You didn’t spend money on quality PPF just to wax it like bare paint. Modern films don’t need waxing—just regular gentle washing. Minor scratches will disappear on their own with sunlight or warm water.
Why Decowell PPF Stands Out
Not all paint protection films are created equal. You’ve probably seen cheap films that yellow after a year, or bubble up and peel at the edges. That frustration usually comes down to two things: poor material quality and rushed installation.
Decowell PPF is engineered from premium TPU with advanced self-healing properties, UV inhibitors to prevent yellowing, and exceptional optical clarity that keeps your paint looking exactly as it should—protected, but not hidden. Whether you prefer a high-gloss finish that amplifies your paint’s depth or a matte look for that understated stealth aesthetic, Decowell delivers durability you can count on. And because the film is designed with installers in mind—whether you’re a first-timer or a seasoned pro—it offers the right balance of flexibility and tensile strength to make the application process smoother and more forgiving.
When you choose Decowell paint protection film, you’re not just buying a layer of plastic. You’re investing in protection that preserves your car’s beauty, holds its value, and gives you peace of mind every time you hit the road.
Frequently Asked Questions
Q: How long does it take for PPF to fully cure?
The initial adhesive bonding happens within 48 hours after installation. However, the film continues to fully bond and any residual moisture trapped underneath can take up to 30 days to completely evaporate, depending on your climate. During this period, you may notice some slight haziness or small water bubbles—don’t touch them. They’ll disappear on their own.
Q: Can I apply PPF myself without professional experience?
Yes, absolutely—with the right preparation and realistic expectations. Simple panels like hoods, roofs, or door edges are great starting points for DIYers. Just allocate plenty of time, work in a clean environment, and follow every preparation step closely. If you’re planning a full vehicle wrap or have a car with extremely complex curves, you might want to practice on smaller sections first.
Q: What’s the difference between slip solution and tack solution?
Slip solution (water with a tiny amount of baby shampoo) keeps the film movable so you can position it perfectly. Tack solution (water mixed with isopropyl alcohol) activates the adhesive and locks the film into place once you’re happy with alignment. Never use tack solution for initial positioning—you won’t be able to slide the film to adjust it.
Q: Will PPF damage my car’s original paint when removed?
No. Quality PPF like Decowell is designed to be removed cleanly without harming factory paint. Poor-quality films or improper removal techniques can cause issues, but with proper care, the film comes off leaving your original paint in pristine condition—sometimes even better than before, since the paint underneath has been shielded from UV and environmental exposure.
Q: How do I fix small bubbles that appear after installation?
Tiny air or moisture bubbles often work themselves out during the curing process as the adhesive dries. For persistent small bubbles, use a fine needle or air release pen to puncture the bubble, then press the moisture out flat toward the nearest edge. The tiny hole will self-heal with a little heat from the sun or a warm heat gun.
Q: Can I wash my car right after PPF is installed?
No. Wait at least 48 hours—preferably a full week—before washing. The adhesive needs time to fully bond, and exposing the edges to water pressure too soon can cause lifting. Once the film is cured, hand washing with a soft microfiber mitt is the safest way to keep it clean.
Q: Does PPF block UV rays and prevent paint fading?
Yes. Quality paint protection films contain UV inhibitors that block a significant percentage of harmful ultraviolet rays, preventing your paint from fading, oxidizing, or turning dull over time. This is especially important for darker colors and reds, which tend to show UV damage fastest.
Q: What should I do if an edge starts lifting?
Clean the area thoroughly with isopropyl alcohol to remove any dirt or oils. Then apply a small amount of tack solution under the lifted edge, use a heat gun on low to soften the adhesive, and press the edge down firmly with a squeegee or your thumb wrapped in a soft microfiber cloth. If it still won’t stay, a small amount of adhesive promoter may help—though with quality film and proper initial installation, this should rarely be necessary.
Protecting your car’s paint doesn’t have to be complicated or outrageously expensive. With a quality paint protection film from Decowell and a careful, methodical approach to installation, you can keep your vehicle looking showroom-fresh for years. The key is preparation, patience, and using the right tools and techniques.
So go ahead—take your time, follow these steps, and give your car the protection it deserves. Your future self (and your car’s resale value) will thank you.
Ready to protect your car the right way? Choose Decowell premium paint protection film for superior clarity, self-healing durability, and professional-grade results—whether you install it yourself or work with your local detailer. Visit Decowell to learn more and get started.